


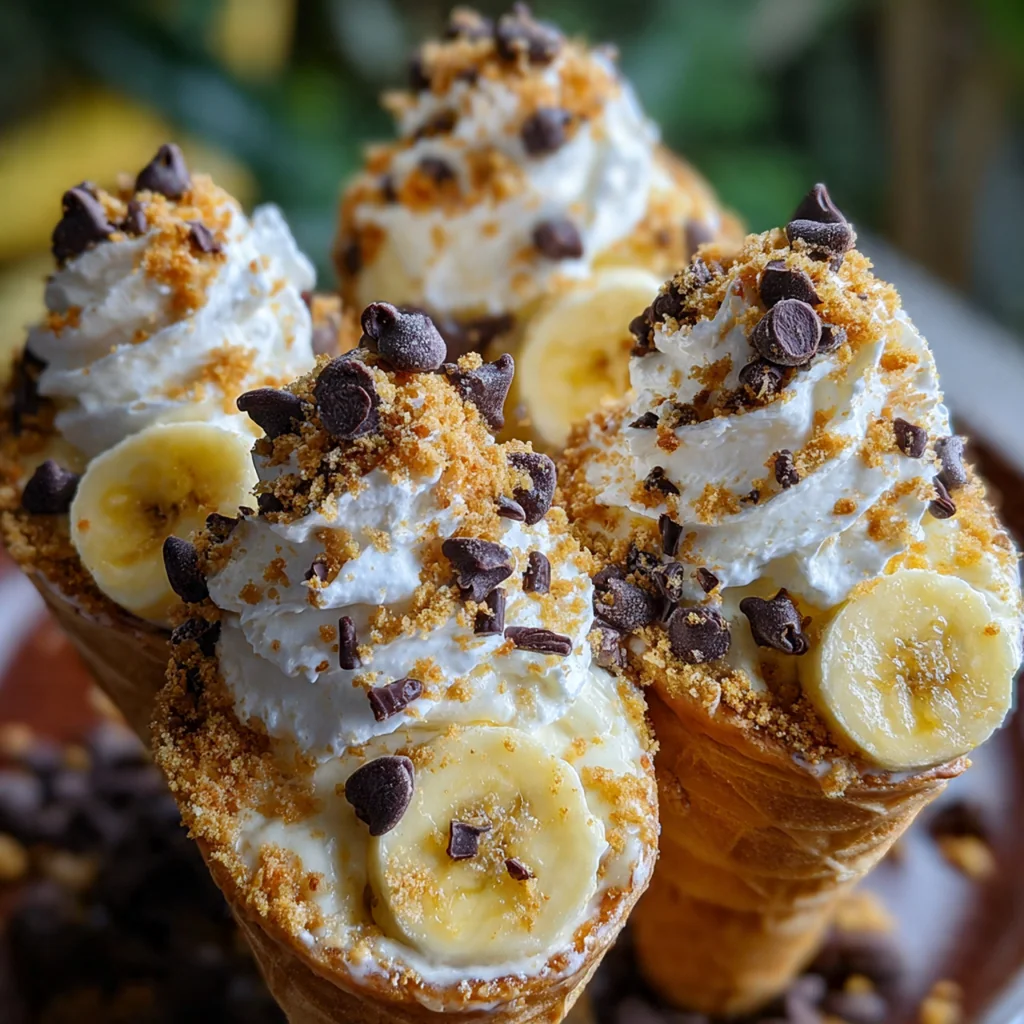
You’ll adore these Banana Pudding Cheesecake Cones, the ultimate portable mash-up of two American classic desserts. This clever no-bake treat layers creamy cheesecake filling, sweet banana pudding, vanilla wafers, and fresh fruit inside a crisp sugar cone. It’s a dessert that brings all the nostalgic flavor of banana pudding with the fun, individual presentation of an ice cream cone. I love how they turn any get-together into a special occasion without turning on the oven.
Why You'll Love This Recipe
- No oven required, making them perfect for warm weather and easy entertaining
- They’re individually portioned and handheld, ideal for picnics or passing around at parties
- You get that classic tangy cheesecake and comforting banana pudding flavor in every single bite
- Surprisingly simple to assemble but they look like you spent hours
- My friends always ask for the recipe after one taste
Ingredients You’ll Need
- Sugar ice cream cones: the edible vessel that adds a sweet crunch and makes them so fun to hold and eat, choose classic pointed cones for that authentic feel.
- Instant vanilla pudding mix: provides the core banana pudding flavor and helps thicken the filling beautifully, look for a 3.4-ounce box for perfect consistency.
- Cold whole milk: used to activate the pudding mix, whole milk gives the creamiest results and best mouthfeel.
- Cream cheese softened to room temperature: the base of your no-bake cheesecake filling, true room temperature cream cheese blends smoothly without any annoying lumps.
- Granulated sugar: sweetens the cheesecake layer just right, balancing the tang of the cream cheese perfectly.
- Pure vanilla extract: adds that warm, aromatic depth that makes the filling taste homemade and special, always go for pure over imitation.
- Heavy whipping cream: when whipped, it lightens the entire filling and gives it a fluffy, mousse-like texture that’s irresistible.
- Ripe but firm bananas: they provide the essential fresh banana flavor and a soft texture, firm ones hold their shape better in the cones.
- Finely crushed vanilla wafers: these create the classic banana pudding cookie layer and add a wonderful buttery crunch to each bite.
- Additional whipped cream for piping: this optional garnish makes each cone look extra festive and adds a lovely cloud of creaminess on top.
- Extra banana slices for garnish: a fresh slice on top signals exactly what flavor is inside and makes them look gorgeous.
- A drizzle of caramel sauce: this optional finish adds a rich, buttery note that complements the banana and vanilla beautifully.
How to Make It
Whisk the Pudding Base:
Grab a medium bowl and whisk the instant pudding mix with the cold milk for a full two minutes until it noticeably thickens. Let it sit for five minutes to fully set; this step is crucial for a sturdy filling that won’t weep. You’ll see it transform into a lovely, thick custard right before your eyes.
Beat the Cream Cheese Mixture:
In a large bowl, use your electric mixer to beat the softened cream cheese, sugar, and vanilla until it’s completely smooth and creamy. This should take about two minutes on medium speed, and you want zero lumps remaining. Taking the time here ensures your final filling is silky and perfect.
Fold in the Pudding:
Use a flexible spatula to gently fold the set pudding into the cream cheese mixture. Go slowly and scrape the bottom of the bowl to incorporate everything fully, stopping when you see no more streaks. This marries the two main flavors into one cohesive, dreamy base.
Whip the Heavy Cream:
Pour your heavy whipping cream into a separate bowl that you’ve chilled in the freezer for 10 minutes. Whip it on high speed until you get firm, stiff peaks that hold their shape when you lift the beaters, which takes three to four minutes. Be careful not to go too far or you’ll start making butter.
Lighten the Filling:
Now, carefully fold that gorgeous whipped cream into your pudding-cheesecake base. I like to do it in two additions, using a gentle folding motion to keep as much air in the mixture as possible. You’ll end up with a light, airy, and voluminous filling that’s perfect for piping.
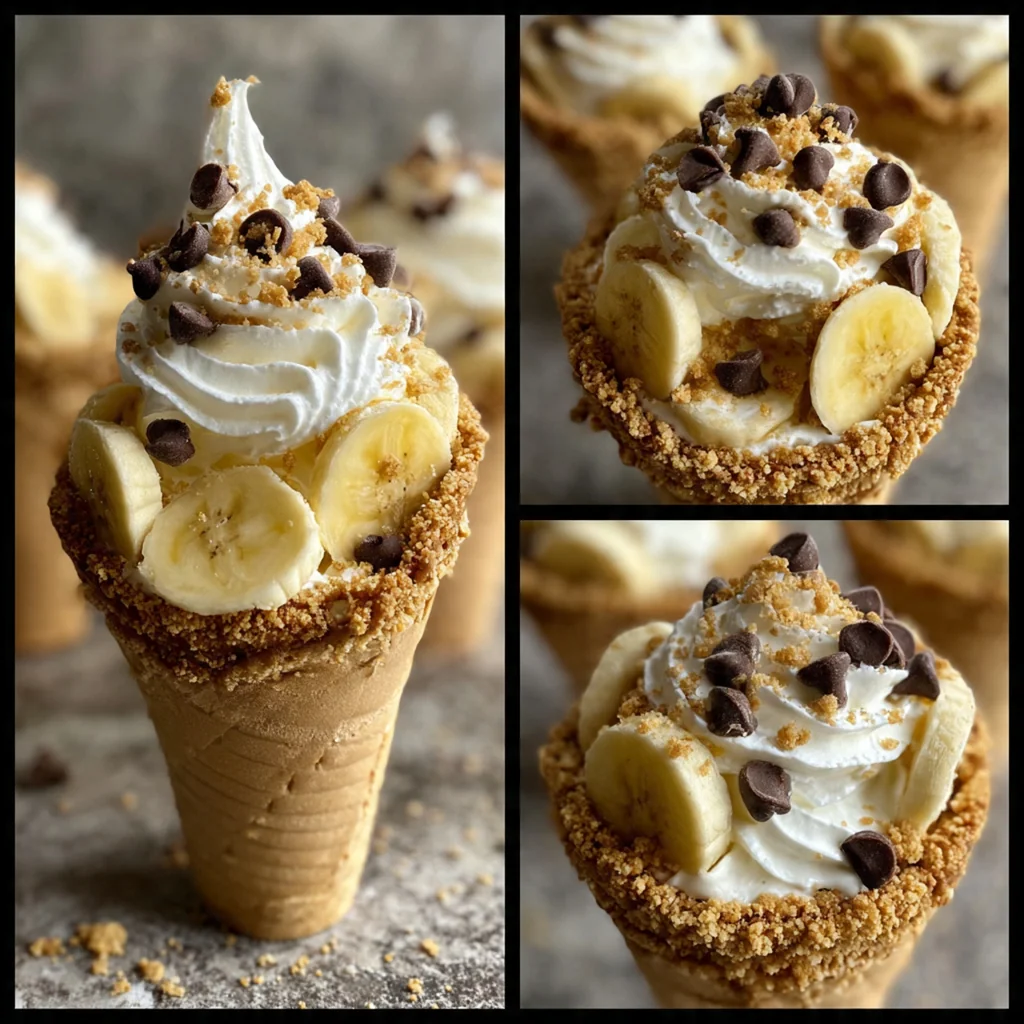
Layer the Cones:
Stand your sugar cones up in a muffin tin or a special cone holder. Drop about a tablespoon of the crushed vanilla wafers into the bottom of each one, then press three or four banana slices against the sides over the crumbs. This creates the classic pudding parfait layers right inside the cone.
Fill and Garnish:
Spoon or, for a prettier finish, pipe the creamy filling into each prepared cone, filling to about a half-inch from the top. Top each one with a final sprinkle of those buttery wafer crumbs and your chosen garnish, like a fresh banana slice or a swirl of whipped cream.
Chill to Set:
This is the most important step for the best texture. Refrigerate your assembled Banana Pudding Cheesecake Cones for at least two hours so the filling can firm up beautifully. That chilling time allows all the flavors to meld and gives you the perfect cool, creamy bite.
You Must Know
- Let your cream cheese soften fully to avoid a lumpy filling
- Chill your bowl before whipping the cream for the best results
- Use bananas that are ripe but still firm to prevent sogginess
- You can assemble these a few hours ahead for easy entertaining
- I always make a few extra because they disappear fast
Storage Tips
Store any assembled Banana Pudding Cheesecake Cones in a single layer in an airtight container in the refrigerator, and they’ll keep beautifully for up to two days. For the absolute best experience, I recommend adding fresh banana slices and any whipped cream toppings just before you’re ready to serve them to keep everything crisp and fresh. If you have leftover filling, you can store that separately in the fridge for a couple of days and spoon it into cups for a quick treat.
Ingredient Substitutions
If you’re out of whole milk, 2% milk will work in the pudding, though the filling might be a touch less rich. For a different cookie crunch, you can swap the vanilla wafers for graham cracker crumbs or even crushed shortbread cookies. In a pinch, you can use a stabilized whipped topping instead of whipping the heavy cream, but the flavor won’t be quite as luxe. And if you want to get creative, a drizzle of chocolate sauce or a sprinkle of toffee bits makes a fantastic alternative to the caramel.
Serving Suggestions
These cones are the star of any casual dessert spread, perfect for a summer cookout, a birthday party, or a festive potluck where you want something everyone can grab and enjoy. I love serving them with a pot of hot coffee for the adults or tall glasses of cold milk for the kids – it’s a classic pairing that never fails. For a fun twist, set up a little topping bar with extra sauces and sprinkles so guests can customize their own cone.
Cultural Context
This playful dessert is a true American mash-up, drawing directly from two Southern and diner classic favorites: creamy, layered banana pudding and rich, decadent cheesecake. Banana pudding itself has deep roots in the American South, often appearing at church suppers and family reunions as a comforting, make-ahead treat. Putting that flavor profile into a portable, handheld sugar cone is a modern, fun-loving twist that captures today’s love for interactive, shareable desserts. It’s a recipe that honors tradition while embracing a spirit of whimsy and convenience.
Pro Tips
- A piping bag with a large star tip makes filling the cones neat and gives a professional finish
- If you’re worried about sogginess, assemble no more than four hours before serving
- For extra decadence, dip the cone rims in melted chocolate and let them set first
- Always slice your bananas right before assembling to keep them from browning
- My secret is a tiny pinch of salt in the cream cheese mixture to make flavors pop
Frequently Asked Questions
Instant vanilla pudding mix works perfectly. It sets quickly with cold milk, creating the ideal thick and creamy base to swirl into the no-bake cheesecake filling. Cook-and-serve pudding won’t work as it requires heating and setting time.
Yes, you can assemble them a few hours in advance. For the best texture, store them in the fridge and add the fresh banana slices just before serving. This prevents the bananas from browning and the cones from getting too soft.
For a lighter version, you can use well-chilled full-fat coconut cream. Whip it just like heavy cream. Avoid lower-fat dairy substitutes, as they won’t whip to stable peaks, and the filling may not set properly.
They’re ready after chilling in the refrigerator for at least 2 hours. The filling will be firm to the touch, and the cones will hold their shape when picked up. They should be served cold.
They’re a complete handheld dessert on their own! For a larger spread, pair them with other American classics like mini pies, brownies, or a fruit platter. A drizzle of caramel or chocolate sauce on top adds extra indulgence.