

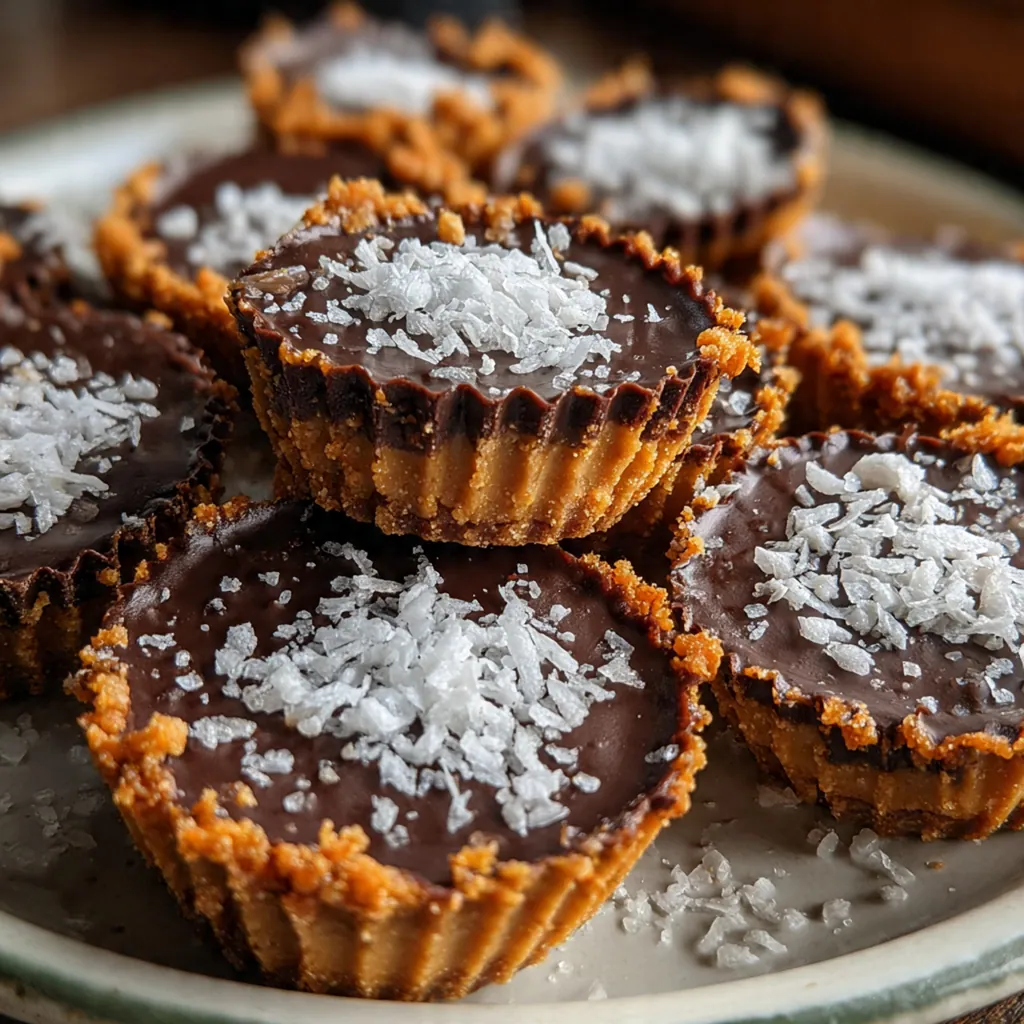
Homemade Peanut Butter Cups are the ultimate treat that beat the store-bought version every single time, and I’ve been making them for years. This classic American candy combines a smooth chocolate shell with a sweet and salty peanut butter center for pure satisfaction. You’ll be surprised at how simple they are to create in your own kitchen with ingredients you likely already have. Trust me, once you taste the fresh, creamy filling and snappy chocolate, you’ll never look at a wrapper the same way again.
Why You'll Love This Recipe
- You only need pantry staples you probably own already
- The flavor is so much fresher and richer than anything from a store
- It’s a fun and simple process that even beginner cooks can master
- You can customize the sweetness or chocolate type to your taste
- They make perfect gifts or party treats that impress everyone
Ingredients You’ll Need
- Semi-sweet chocolate chips: For the classic, balanced chocolate shell that isn’t too sweet, choose a good quality brand that melts smoothly for the best texture and snap.
- Coconut oil: This optional ingredient helps the chocolate set with a clean break and makes it easier to spread thinly in the cups, just a tiny bit makes a big difference.
- Creamy peanut butter: The star of the filling, use a standard processed brand for the right consistency and that familiar sweet and salty flavor we all love.
- Powdered sugar: It blends seamlessly into the peanut butter filling without any graininess, giving it structure and that perfect sweetness level.
- Unsalted butter: Softened butter adds richness and helps bind the filling together, making it easy to roll and shape into neat disks.
- Vanilla extract: A splash of vanilla rounds out all the flavors in the filling, adding a warm, classic bakery note you’ll notice.
- Fine sea salt: This crucial pinch enhances the peanut butter and chocolate, balancing the sweetness and making the flavors pop in every bite.
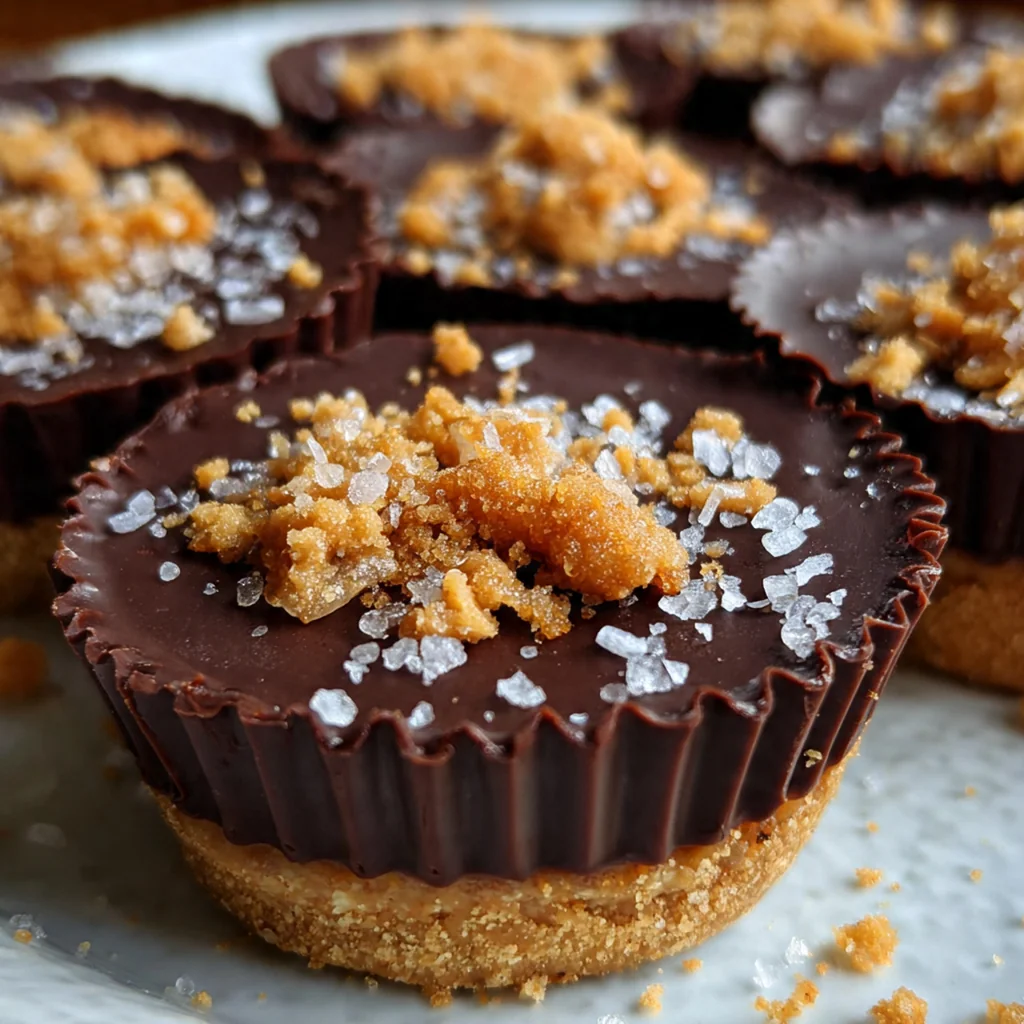
- Sea salt flakes or chopped peanuts: These optional garnishes add texture and a professional bakery touch, making your homemade peanut butter cups look extra special.
How to Make It
Line Your Muffin Tin:
Start by lining a standard 12-cup muffin tin with paper liners and set it aside. This is your mold for the perfect peanut butter cup shape and makes cleanup an absolute breeze later on.
Melt the First Chocolate Layer:
Combine most of your chocolate chips with half the coconut oil in a microwave-safe bowl. Heat in short bursts, stirring well each time, until you have a completely smooth and glossy chocolate pool ready for the base.
Create the Chocolate Shells:
Spoon about a tablespoon of melted chocolate into each liner, then use a small spoon to spread it up the sides a little. This creates a little cup to hold the filling. Pop the tin in the freezer for ten minutes to firm up that base layer completely.
Mix the Peanut Butter Filling:
While the chocolate sets, make the filling by combining the peanut butter, powdered sugar, softened butter, vanilla, and salt in a bowl. Mix it with a spatula or hand mixer until it’s super smooth and all the ingredients are fully incorporated.
Shape and Add the Filling:
Divide your peanut butter mixture into twelve equal portions. Roll each into a ball, then flatten it into a thick disk that fits inside your chocolate-lined cups. Pull the tin from the freezer and gently press one disk into each chocolate base.
Melt the Top Chocolate Layer:
Melt the remaining chocolate chips with the rest of the coconut oil using the same gentle microwave method. You want this chocolate just as smooth and fluid as the first batch for a beautiful finish.
Seal the Cups:
Carefully spoon about a tablespoon of the melted chocolate over each peanut butter disk. Use the back of your spoon to gently spread it to the edges, completely encasing the filling in a smooth, chocolatey seal.
Add Optional Garnishes:
If you’re using them, immediately sprinkle a tiny pinch of sea salt flakes or some chopped peanuts on top of each cup. Doing this while the chocolate is still wet ensures they stick perfectly for that professional look.
Set and Enjoy:
Return the tin to the freezer for another ten minutes to set the top, then move it to the fridge to chill completely for at least an hour. Once they’re firm, just peel off the liners and savor your incredible homemade peanut butter cups.

You Must Know
- Good quality chocolate chips melt better and taste superior
- Chilling in stages keeps the layers distinct
- A bit of coconut oil gives the chocolate a perfect snap
- Rolling the filling into balls first makes shaping easier
- I always make a double batch because they disappear fast
Storage Tips
Store your homemade peanut butter cups in a single layer in an airtight container in the refrigerator, where they’ll stay perfectly firm and fresh for up to two full weeks. If you want to keep them longer, they freeze beautifully for about three months; just stack them between layers of parchment paper in a freezer-safe container to prevent sticking. Let frozen cups thaw in the fridge for an hour or so before you enjoy them, that way the texture stays just right and the chocolate doesn’t sweat.
Ingredient Substitutions
You can swap the semi-sweet chocolate chips for dark, milk, or even a dairy-free chocolate depending on your preference, just make sure it’s a good melting variety. If you don’t have or want to use coconut oil, you can leave it out, though your chocolate might be a little thicker to spread. For the peanut butter, a natural style can work but might make the filling a bit oilier and harder to shape, so a quick chill beforehand helps. To make these dairy-free, use dairy-free chocolate and a plant-based butter substitute in the filling, it works like a charm.
Serving Suggestions
Serve these homemade peanut butter cups straight from the fridge, nice and cold, alongside a tall glass of icy cold milk or a hot cup of coffee for the ultimate pairing. They’re fantastic as a standalone treat, but you can also arrange them on a dessert platter with other cookies and brownies for a real showstopper at parties. I love packing a couple in a small bag for a sweet afternoon pick-me-up or tucking them into lunchboxes for a special surprise that always brings a smile.
Cultural Context
The peanut butter cup is a distinctly American invention, born in the early 20th century and popularized by brands that turned it into a lunchbox staple and Halloween favorite. Making them at home taps right into that nostalgic, do-it-yourself spirit of American home baking and candy making, where simple, available ingredients create iconic treats. It’s a recipe that celebrates the perfect marriage of peanut butter and chocolate, a combination that’s been beloved in everything from cookies to pies across the country for generations, proving that sometimes the simplest ideas are the very best ones.
Pro Tips
- Chill the filling if it’s too soft to shape easily
- Use an offset spatula to spread chocolate neatly
- Let the cups set fully in the fridge before eating
- Sprinkle garnishes quickly before the top layer sets
- I never skip the sea salt flake finish
Frequently Asked Questions
High-quality semi-sweet chocolate chips, as listed in the ingredients, are ideal for Homemade Peanut Butter Cups because they melt smoothly and provide a balanced sweetness that contrasts the salty filling. You can also use dark chocolate for a less sweet version, but avoid chocolate with a very high cocoa percentage as it can be too bitter.
Absolutely! Homemade Peanut Butter Cups are perfect for making ahead. Once set, store them in an airtight container in the refrigerator for up to two weeks, or freeze them for up to three months. They are a great make-ahead treat for parties or quick dessert cravings.
If you prefer a different nut butter, you can substitute the creamy peanut butter with an equal amount of almond butter or cashew butter in your Homemade Peanut Butter Cups. For a nut-free version, sunflower seed butter works well, though the flavor will be different. Avoid using natural, oily peanut butter that separates, as it won’t create a firm enough filling.
Your Homemade Peanut Butter Cups are ready when the chocolate shell is completely firm and set. After the final chocolate layer is added, refrigerate the cups for at least 30-60 minutes, or until the chocolate is no longer shiny and feels hard to the touch. Proper setting ensures they release cleanly from the liners.
These classic American Homemade Peanut Butter Cups are perfect on their own as a sweet treat. For a fuller dessert spread, pair them with a glass of cold milk, a scoop of vanilla ice cream, or alongside other easy no-bake desserts like rice crispy treats. They’re ideal for potlucks, movie nights, or holiday candy plates.