

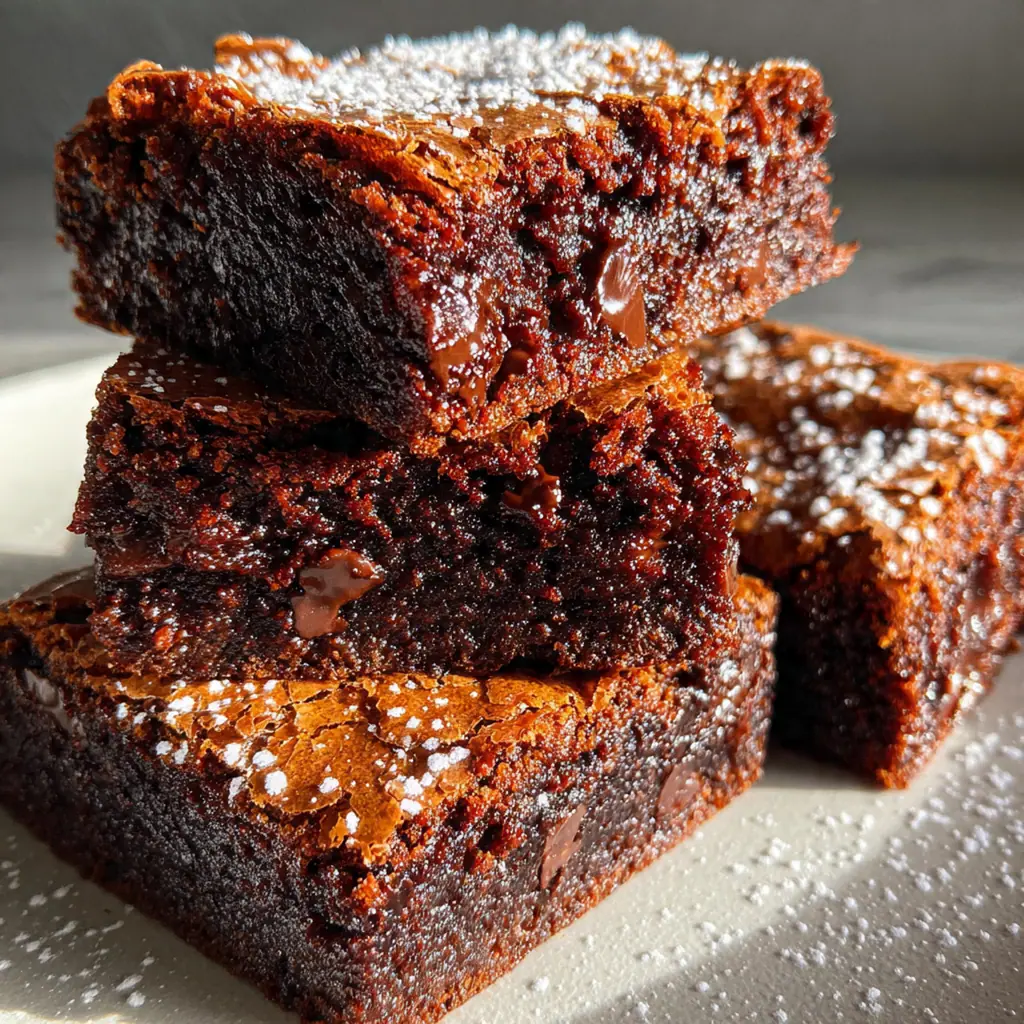
Lunchroom Ladies Brownies Chocolate are a direct line back to the simple, unforgettable treats of childhood. This nostalgic recipe captures the exact fudgy texture and shiny, crackly top of those classic cafeteria squares. It’s an easy American dessert built from pantry staples, promising rich chocolate flavor in every bite. You’ll find yourself reaching for this recipe whenever you need a quick, crowd-pleasing treat that brings smiles and memories.
Why You'll Love This Recipe
- You get that perfect fudgy texture with a signature shiny crackly top
- It’s made with simple ingredients you likely have on hand right now
- Perfect for sharing at any gathering or as a special after-school snack
- Every bite is a delicious trip down memory lane
- I bake these more than any other treat in my kitchen
Ingredients You’ll Need
- Unsalted butter: melted to create that dense, moist crumb you love in a brownie it also contributes to the signature glossy top when combined with sugar and eggs.
- Granulated sugar: essential for sweetness and creating that classic crackly surface it dissolves into the butter and eggs to form a glossy sheen before baking.
- Large eggs: they bind everything together and their proteins are key for setting the structure room temperature eggs incorporate much more smoothly into your batter.
- Vanilla extract: adds a warm background note that enhances the deep chocolate flavor use pure extract for the best results.
- All-purpose flour: provides the essential structure for your brownies sifting it helps prevent tough, dense spots from forming.
- Unsweetened cocoa powder: this is where your deep chocolate flavor comes from a good quality cocoa powder makes a noticeable difference in richness.
- Salt: balances all the sweetness and makes the chocolate flavor pop don’t skip it even in sweet recipes.
- Baking powder: gives just a slight lift for the perfect texture between fudgy and cakey.
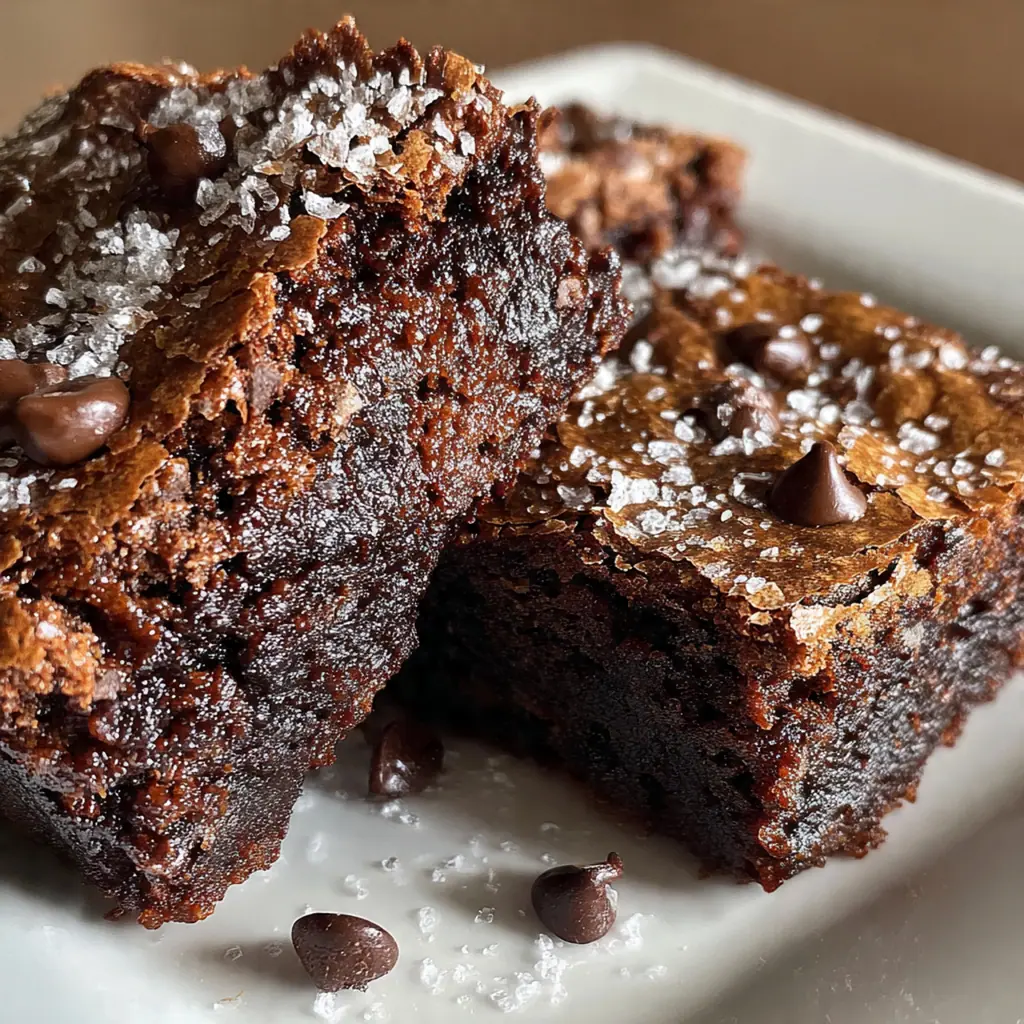
- Semi-sweet chocolate chips: they melt into pockets of extra chocolatey goodness throughout the brownie you can use chunks if you prefer.
How to Make It
Preheat and Prepare Your Pan:
Start by preheating your oven to 350°F and greasing your 9×13 pan or lining it with parchment. Leaving parchment overhang makes it super easy to lift the whole slab out later for clean cutting. This little step saves so much fuss.
Melt and Cool the Butter:
Gently melt the butter in a saucepan over low heat, stirring now and then. Once it’s fully liquid, take it off the heat and let it sit for about five minutes. You want it warm but not hot when you mix it with the sugar.
Combine Butter and Sugar:
Pour the melted butter into a large bowl with the granulated sugar. Whisk them together until they’re completely blended and look smooth. This mixture is the first step toward that shiny, crackled top we’re all after.
Incorporate Eggs and Vanilla:
Add your eggs one at a time, whisking really well after each addition. You’ll see the batter become thick and glossy. Then stir in the vanilla extract until it’s just combined.
Sift the Dry Ingredients:
In a separate bowl, sift together your flour, cocoa powder, salt, and baking powder. Sifting isn’t just for show it breaks up lumps and ensures everything gets evenly distributed in your batter.
Fold Dry into Wet:
Gradually add the dry ingredients to the wet bowl, folding gently with a spatula. Mix just until you no longer see streaks of flour. Overmixing is the enemy of tender brownies.
Add Chocolate Chips:
Fold in the cup of semi-sweet chocolate chips until they’re scattered throughout the batter. They’ll give you lovely molten pockets of chocolate in the finished brownies.
Spread and Bake:
Pour the batter into your prepared pan and use your spatula to spread it evenly into all the corners. Bake for 25 to 30 minutes, starting to check at the 25-minute mark.
Cool Completely Before Cutting:
A toothpick inserted into the center should come out with a few moist crumbs attached, not wet batter. Let the pan cool on a wire rack for a full hour before you slice. Your patience will be rewarded with perfect squares.
You Must Know
- The secret to the crackly top is properly dissolving the sugar into the butter and eggs
- Room temperature eggs really do make a difference for smooth batter
- A toothpick with moist crumbs means they’re done perfectly
- Letting them cool completely is non-negotiable for clean slices
- I learned the hard way that cutting warm brownies is a messy mistake
Storage Tips
Once your Lunchroom Ladies Brownies Chocolate are completely cool, store them in an airtight container at room temperature. They’ll stay beautifully fudgy and fresh for up to five days this way, though they rarely last that long around my house. For longer keeping, you can wrap the whole slab or individual squares tightly and freeze them for up to three months. Just thaw them on the counter whenever a chocolate craving strikes.
Ingredient Substitutions
If you only have salted butter, just omit the extra salt called for in the recipe. For a gluten-free version, a trusted one-to-one gluten-free flour blend works perfectly as a direct swap for the all-purpose flour. Dairy-free plant-based butter and dairy-free chocolate chips let everyone enjoy these. You can swap the semi-sweet chips for dark chocolate, milk chocolate, or even a handful of chopped walnuts if you want that classic lunchroom addition.
Serving Suggestions
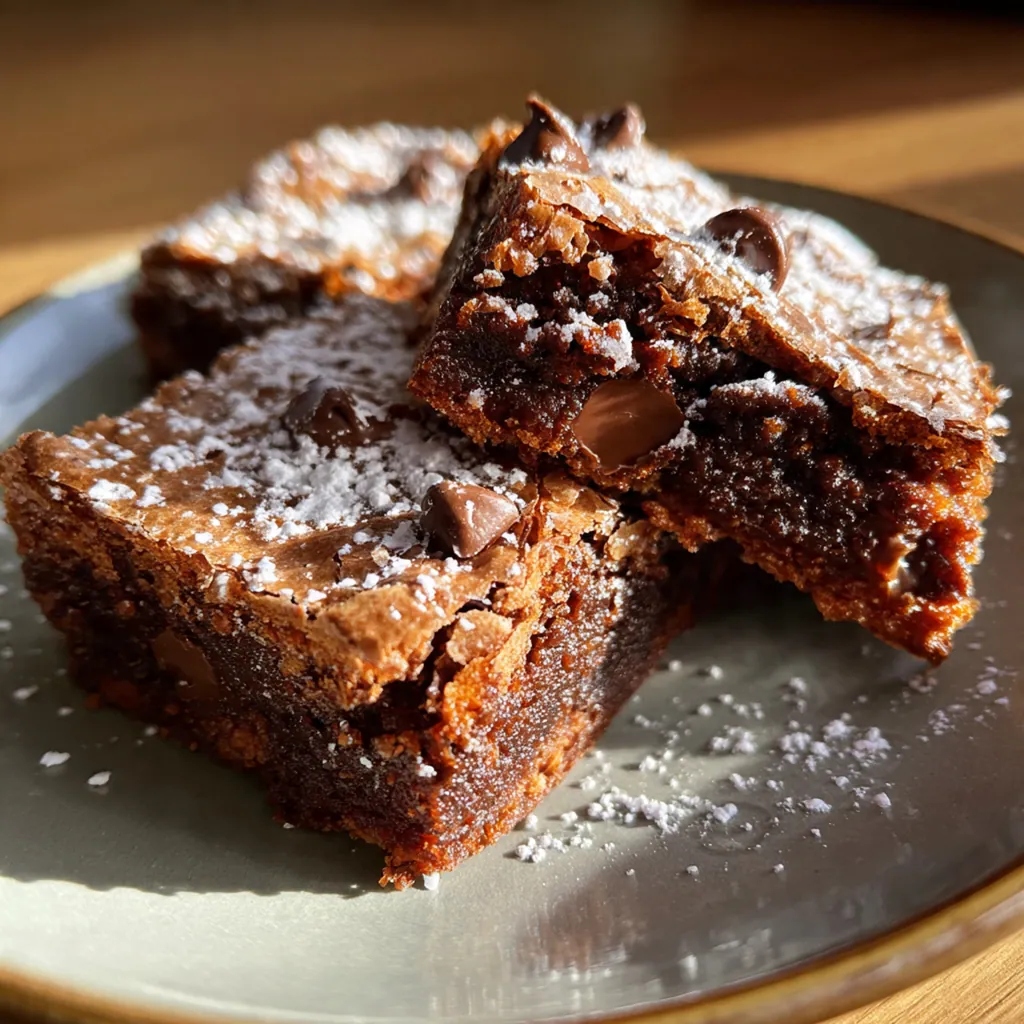
These Lunchroom Ladies Brownies Chocolate are fantastic all on their own, just like you remember. For a simple dressed-up look, dust the top with a little powdered sugar right before serving. My favorite way is to serve a square slightly warm with a scoop of vanilla ice cream melting over the top it’s a timeless combination. A cold glass of milk is absolutely the perfect beverage pairing for this nostalgic treat.
Cultural Context
These brownies are a quintessential piece of American culinary nostalgia, straight from the stainless steel serving pans of school cafeterias across the country. For generations, these simple, fudgy squares were a bright spot in the school day, a treat that felt like a small celebration. They represent a time when desserts were straightforward, satisfying, and meant for sharing with a crowd. This recipe honors that tradition, focusing on the joy of simple ingredients coming together to create something universally loved, a dessert that transcends age and brings people together over shared memory and chocolate.
Pro Tips
- Use room temperature eggs for a smoother, glossier batter
- Don’t overbake pull them out when the toothpick has moist crumbs
- High-quality cocoa powder elevates the entire chocolate experience
- Let them cool completely in the pan for the cleanest cuts
- For a slightly cakey texture, use the full 3/4 teaspoon of baking powder
Frequently Asked Questions
Unsweetened natural cocoa powder is ideal for these Lunchroom Ladies Brownies, as called for in the recipe. It provides the classic, deep chocolate flavor that’s key to that nostalgic taste. Avoid Dutch-processed cocoa unless you adjust the leavening, as it reacts differently with baking powder.
Absolutely! These brownies actually taste even better the next day as the flavors settle. Let them cool completely, then store them in an airtight container at room temperature for up to 3 days. You can also freeze them for longer storage.
You can use an equal amount of milk chocolate chips, dark chocolate chunks, or even chopped walnuts or pecans for a different twist. The semi-sweet chips provide perfect sweetness and melty pockets, but any good-quality baking chocolate will work well in these Lunchroom Ladies Brownies.
The brownies are done when the edges look set and a toothpick inserted about an inch from the edge comes out with a few moist crumbs, not wet batter (about 30 minutes). The center should still look slightly soft—it will firm up as it cools, giving you that perfect fudgy texture.
These rich, fudgy brownies are fantastic on their own, just like in the lunchroom. For a special treat, serve them warm with a scoop of vanilla ice cream or a glass of cold milk. They’re also perfect for bake sales, picnics, or as an after-school snack.