


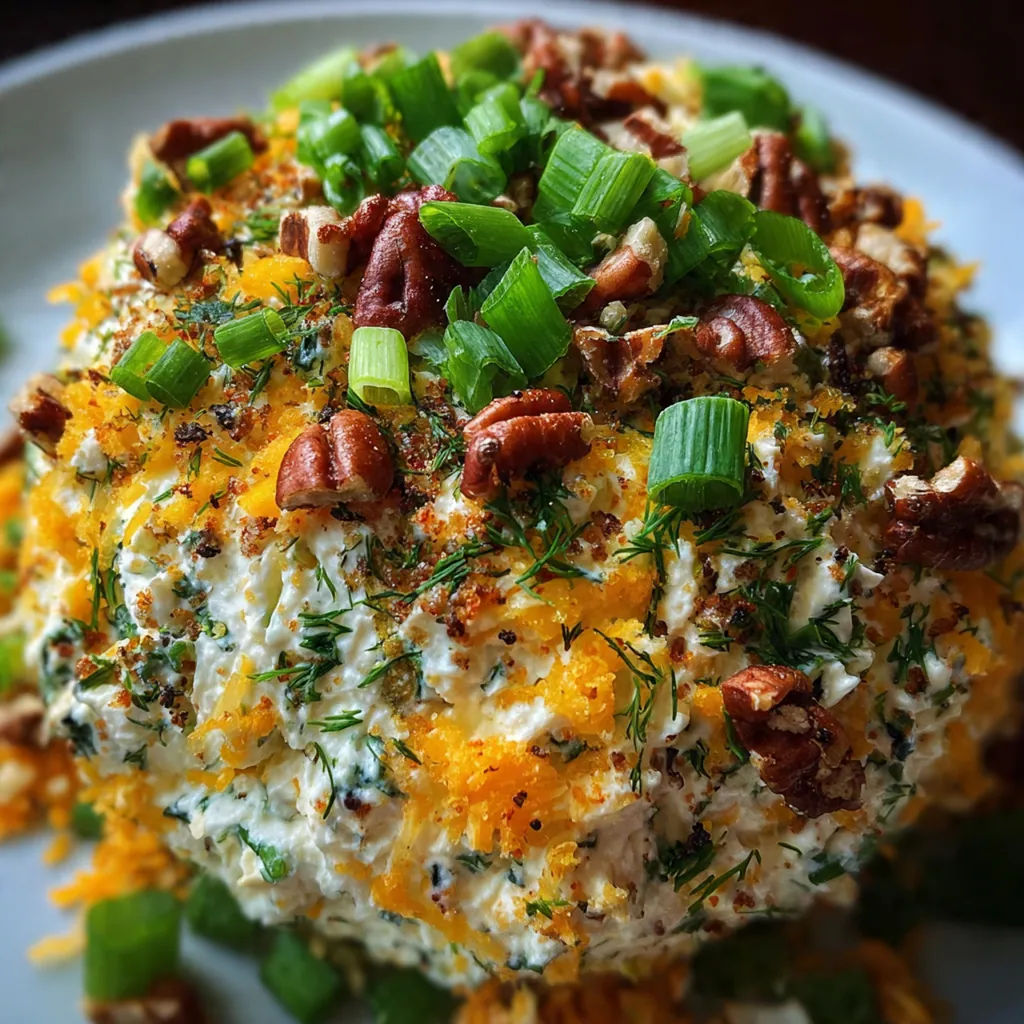
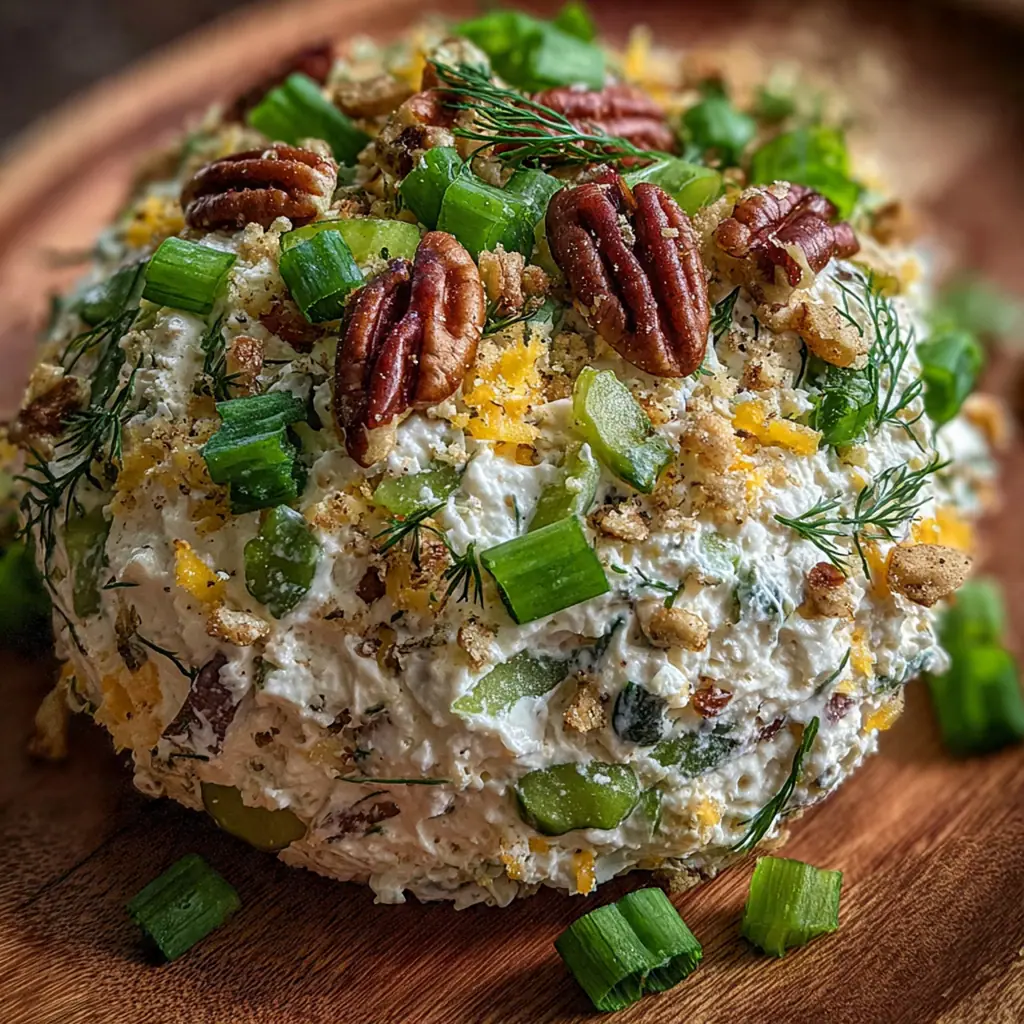
This Dill Pickle Cheese Ball recipe has been my secret weapon for potlucks and holiday parties for years. It brings together sharp cheddar, crunchy pickles, and fresh dill in a creamy, tangy appetizer that always disappears first. I originally created it for a last-minute get-together because it uses ingredients I always have on hand. Unlike complicated party foods, this American classic requires zero cooking and actually tastes better when you make it ahead. The bold dill pickle flavor makes it truly unforgettable.
Why You'll Love This Recipe
- You only need 10 minutes of actual hands-on prep time to throw this together
- The flavors actually get better as it sits in your fridge
- It’s completely make-ahead, so your party day stress disappears
- Everyone loves the tangy, savory punch of dill and sharp cheese
- I’ve never brought this to a party and taken any home
Ingredients You’ll Need
- Cream cheese: provides the ultra-creamy base that holds everything together; use block cream cheese at room temperature for the smoothest mixing experience without any annoying lumps
- Sharp cheddar cheese: brings the bold, savory flavor and that classic cheese ball texture; freshly shredded cheese melts and blends way better than pre-shredded bags with anti-caking agents
- Dill pickles: deliver the signature tangy crunch that makes this appetizer so addictive; finely chop them and make sure they’re bone-dry to prevent any moisture from ruining your cheese ball’s perfect texture
- Dill pickle juice: adds concentrated tangy flavor throughout the mixture without extra moisture; it’s that secret ingredient that makes people ask what your special ingredient is
- Fresh dill: provides bright, herbaceous notes that complement the pickles perfectly; always use fresh rather than dried because it delivers a pop of color and authentic flavor that dried just can’t match
- Garlic powder: lends a subtle savory depth without the harsh bite of raw garlic; it disperses evenly throughout the mixture for consistent flavor in every single bite
- Onion powder: adds a sweet, mellow background note that rounds out the sharper flavors; it dissolves completely so you get flavor without any crunchy bits
- Black pepper: gives a gentle heat and sharp finish that cuts through the rich cheese; fresh-ground peppercorns make a noticeable difference in taste
- Worcestershire sauce: contributes that mysterious umami complexity that makes everything taste more interesting; just a splash ties all the other ingredients together beautifully
- Pecans or walnuts: create the crunchy, nutty coating that adds textural contrast to the creamy interior; toast them lightly beforehand to really amplify their rich flavor
- Fresh parsley: brings a pop of green color and fresh flavor to the coating; finely chop it so it adheres nicely and doesn’t fall off when you’re serving
- Smoked paprika: optional but adds beautiful color and a whisper of smoky warmth; it looks gorgeous sprinkled on top for a finished appearance
- Dried minced onion: optional for extra oniony punch and little bursts of flavor; rehydrates slightly in the mixture for concentrated savory notes
How to Make It
Dry The Pickles Thoroughly:
Start by patting your chopped dill pickles completely dry with paper towels. This step is absolutely crucial because excess moisture will make your cheese ball too soft and runny. Squeeze them gently in the paper towels to remove every drop of liquid. Trust me, taking this extra minute prevents a huge texture problem later.
Mix The Creamy Base:
In a large mixing bowl, combine the softened cream cheese and shredded sharp cheddar cheese. Use a hand mixer or a sturdy wooden spoon to blend them together until the mixture is completely smooth and uniform. You want no lumps of cream cheese remaining. The consistency should be thick enough that it holds its shape when you scoop it.
Add The Flavor Builders:
Stir in your dried chopped pickles, dill pickle juice, fresh dill, garlic powder, onion powder, black pepper, and Worcestershire sauce. Mix everything together until the ingredients are evenly distributed throughout the cheese mixture. The pickles should be scattered evenly so you get that crunch in every bite. The mixture will smell incredibly fresh and tangy at this point.
Chill To Firm Up:
Cover the bowl and refrigerate the mixture for exactly 30 minutes. This chilling time makes it much easier to handle and shape without sticking to your hands. It also gives the flavors a chance to meld together beautifully. Don’t skip this step or you’ll be fighting a sticky, soft mixture that won’t form a proper ball.
Prepare The Coating:
While the cheese mixture is chilling, mix your chopped pecans or walnuts with the fresh parsley on a flat plate or in a shallow dish. Spread it out into an even layer so it’s ready to coat the entire cheese ball. I like to use the bottom of a pie plate for this because it makes rolling so much easier and less messy.
Shape Your Cheese Ball:
Remove the chilled mixture from the refrigerator and dump it onto a large piece of plastic wrap. Use your hands to gently shape it into a ball or a log shape, depending on your preference. The plastic wrap makes this step clean and easy. If it’s still a bit sticky, wet your hands slightly with cold water.
Roll In The Coating:
Place your shaped cheese ball onto the nut and parsley coating. Roll it around, pressing gently so the coating adheres to all sides evenly. Use the plastic wrap to help flip it and ensure complete coverage. Don’t worry if a few spots are light — just press more coating on with your hands.
Final Chill For Flavor:
Wrap the coated cheese ball tightly in the plastic wrap and refrigerate for at least 30 minutes, though 24 hours is even better if you have time. This final chilling firms it up perfectly and lets all those flavors develop and marry together. The texture becomes ideal for spreading on crackers.
Serve And Enjoy:
Remove the cheese ball from the refrigerator about 15 minutes before you plan to serve it. This slight softening makes it much easier to spread. Set it out with sturdy crackers, pretzels, or fresh veggie sticks. Watch it become the star of your appetizer spread!
You Must Know
- Room temperature cream cheese is your best friend here for smooth mixing
- Pat those pickles absolutely bone-dry to prevent a soft cheese ball
- Use plastic wrap to shape and coat with zero mess
- Make it ahead for maximum flavor development
- My family fights over who gets the last piece
- I learned the hard way that skipping the drying step leads to a weeping cheese ball that won…
Storage Tips
Your cheese ball will stay fresh and delicious for up to one week when stored properly in the refrigerator. Wrap it tightly in fresh plastic wrap, making sure there are no gaps where air can get in and dry it out. If you’re planning ahead, you can actually make the cheese mixture up to three days in advance and add the nut coating just before serving to keep it extra fresh. For best results when serving leftovers, let it sit at room temperature for 20 minutes to soften slightly. If the coating gets a little damp looking, just roll it in a fresh mixture of chopped nuts and parsley to revive it. I don’t recommend freezing because the cream cheese texture changes and becomes grainy when thawed.
Ingredient Substitutions
If you need a nut-free version, swap the pecans or walnuts for crushed pretzels, crushed pork rinds, or even just extra fresh herbs like parsley and chives. For a lighter option, you can use reduced-fat cream cheese, though the texture will be slightly softer. If fresh dill isn’t available, use one-third the amount of dried dill, though the flavor won’t be quite as bright. Skip the Worcestershire sauce and add an extra pinch of garlic powder if you need to, or use soy sauce for a similar umami kick. When pickles are extra large, stick to the half-cup measurement rather than counting pieces since sizes vary so much. For a dairy-free version, try using your favorite plant-based cream cheese and dairy-free cheddar shreds — the texture will be similar.
Serving Suggestions
This Dill Pickle Cheese Ball pairs beautifully with sturdy crackers that can handle a generous scoop, like Ritz, wheat thins, or pretzel crisps. For a healthier twist, serve it with crisp celery sticks, colorful bell pepper strips, or thick cucumber slices. I love adding some cherry tomatoes and baby carrots to the platter for extra color and crunch. It also makes a fantastic sandwich spread or topping for a bagel. For your next game day party, try serving it alongside other finger foods like chicken wings and jalapeño poppers. The tangy flavor cuts through rich, heavy party foods perfectly.
Cultural Context
The cheese ball is a quintessential American party food that exploded in popularity during the 1950s and 1960s when entertaining at home became a huge cultural phenomenon. It represents the best of Midwestern potluck culture where practical, make-ahead dishes ruled the buffet table. The dill pickle variation takes the classic formula and gives it that beloved tangy twist that reminds me of summer picnics and family reunions. While it might not have ancient culinary roots, this appetizer embodies the spirit of American home cooking — simple ingredients, bold flavors, and food that brings people together around a table or living room coffee table.
Pro Tips
- Bring your cream cheese to room temperature for at least two hours before mixing
- Squeeze those pickles in paper towels until they’re practically cracker-dry
- Shape it on plastic wrap so coating is clean and easy
- Make it the day before — the flavor transformation is incredible
- I always reserve a little extra parsley to sprinkle on top for a pretty finish
- My favorite trick is using a small cookie scoop to make perfect cheese ball bites for partie…
Frequently Asked Questions
Sharp cheddar cheese is key for this Dill Pickle Cheese Ball because it provides a bold flavor that stands up to the tangy pickles. Use freshly shredded cheese for the best texture, as pre-shredded varieties often contain anti-caking agents that can make the ball crumbly. The cream cheese acts as the perfect binder.
Absolutely! This is the perfect make-ahead appetizer. You can assemble the Dill Pickle Cheese Ball up to 2 days in advance. Just wrap it tightly in plastic wrap and keep it refrigerated. Add the external coating of parsley and pecans right before serving so it looks fresh and vibrant.
If you’re not a fan of pickles, you can substitute finely chopped celery or bell peppers for crunch, though the flavor profile will change. To keep a tangy bite, you could add a bit more Worcestershire sauce or some finely chopped capers. The pickle juice is also essential for that signature tang.
The Dill Pickle Cheese Ball is ready when it’s firm enough to hold its round shape but soft enough to spread easily on a cracker. There’s no cooking involved! The main indicator is the chill time: after mixing, refrigerate for at least 1 hour to let it firm up before rolling in the nut and parsley coating.
Classic sturdy crackers like Ritz or Wheat Thins are perfect for scooping up this creamy appetizer. It also pairs wonderfully with sliced baguette, celery sticks, or pretzel crisps. Since it’s a rich American appetizer, something crisp and neutral works best to let the bold dill and pickle flavors shine.