

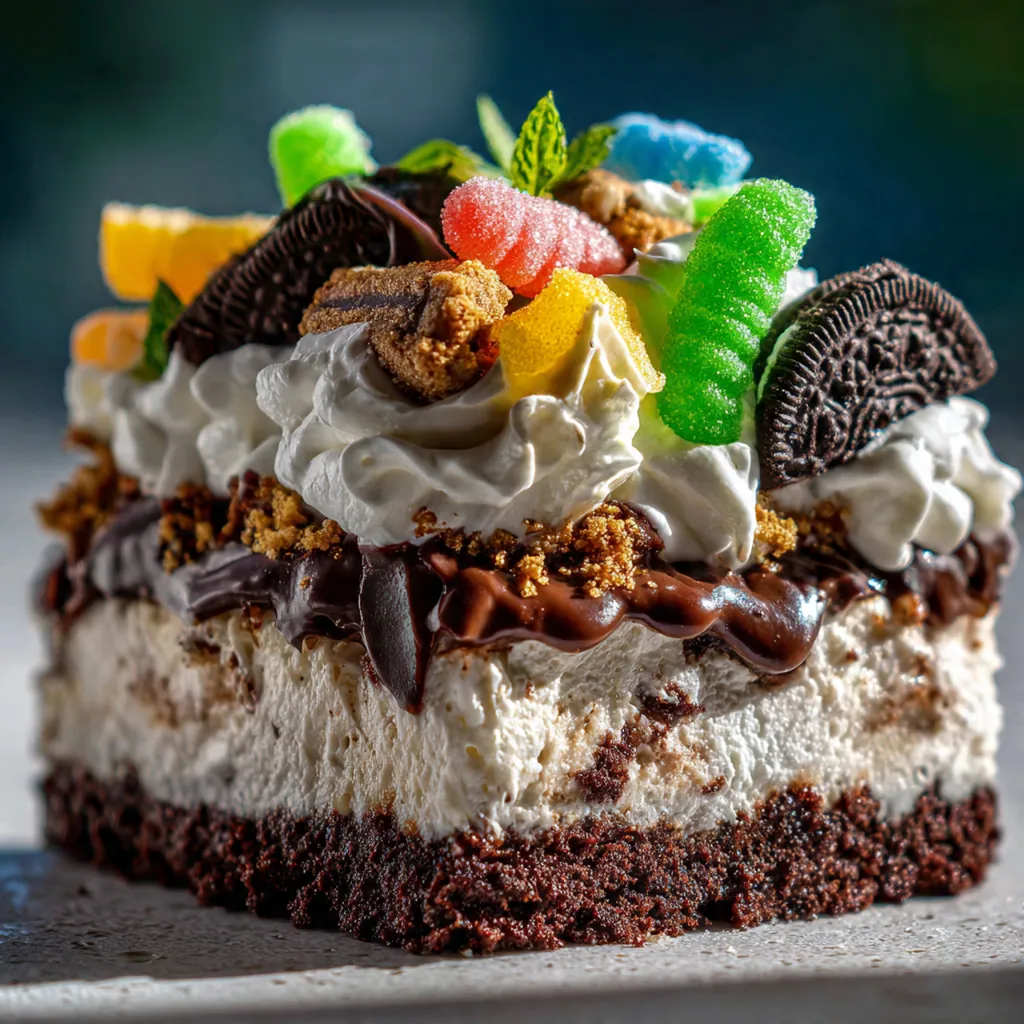
Easter Dirt Cake Dessert has been the star of my spring celebrations for years, delivering that perfect mix of nostalgia and pure fun. This no-bake American classic layers rich chocolate pudding and a fluffy vanilla cream mixture over a crunchy cookie base, finished with festive candy eggs. It brings back childhood memories of digging into cool, creamy desserts while creating new traditions for your own family gatherings. Making it ahead means more time to enjoy the party, and it always disappears first from the table.
Why You'll Love This Recipe
- Completely no-bake – perfect for warm spring days when you don’t want to heat up the kitchen
- Make-ahead friendly – actually tastes better after chilling overnight
- Kid-friendly and fun to assemble with little helpers
- Serves a crowd easily with 12 generous portions
Ingredients You’ll Need
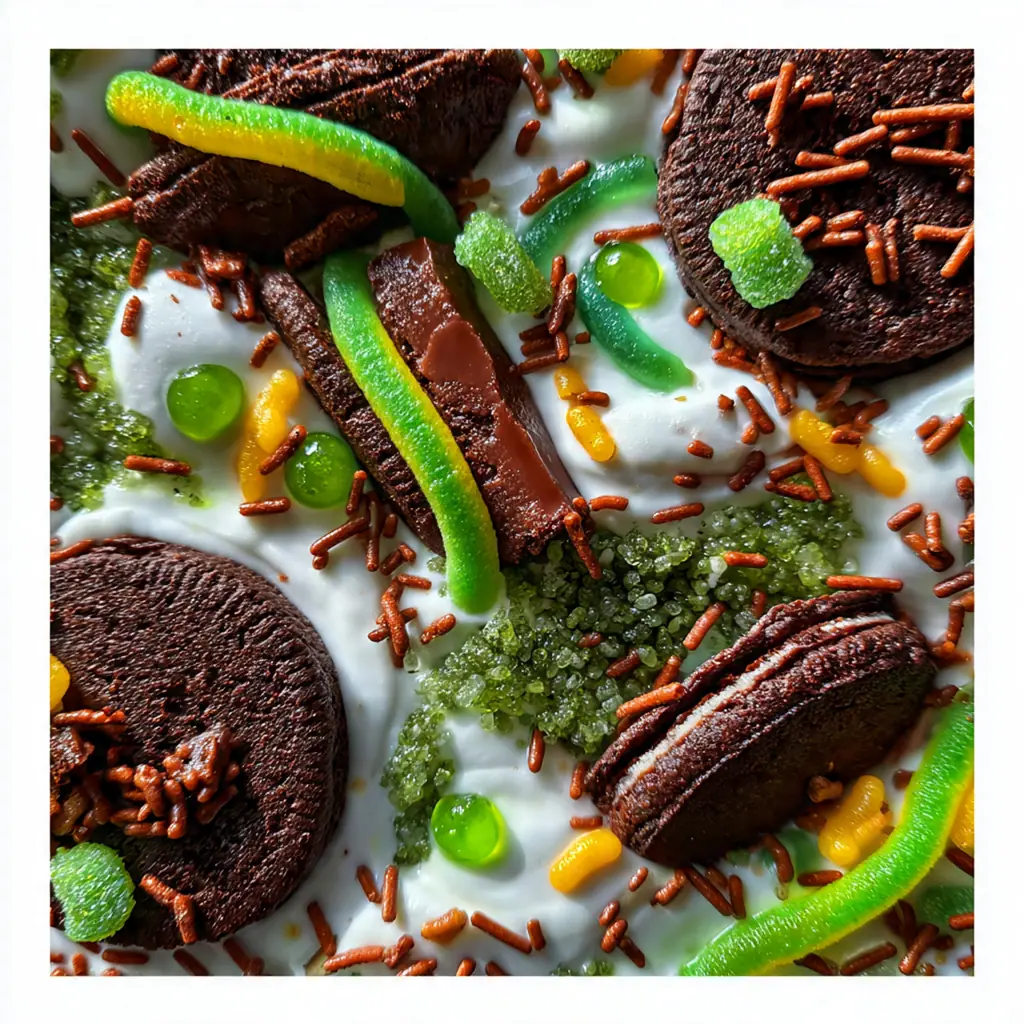
- Chocolate sandwich cookies: These create the iconic ‘dirt’ base and topping, providing a rich chocolate flavor and satisfying crunch that mimics real soil texture.
- Unsalted butter: Binds the cookie crumbs together into a firm, cohesive base while adding a subtle richness that complements the chocolate.
- Cream cheese: Forms the foundation of the creamy layer, offering a tangy contrast to the sweet pudding and stabilizing the entire dessert structure.
- Powdered sugar: Sweetens the cream cheese mixture perfectly and dissolves completely, ensuring a silky-smooth texture without any grittiness.
- Instant chocolate pudding mix: Delivers deep chocolate flavor and sets up firm, creating the distinct dark layer that makes this dessert so visually appealing.
- Instant vanilla pudding mix: Balances the chocolate with a lighter, creamy sweetness and helps achieve that perfect mousse-like consistency in the filling.
- Cold whole milk: The key to setting both puddings properly; using cold milk ensures they thicken correctly without becoming runny.
- Frozen whipped topping: Lightens the mixture dramatically, adding air and a fluffy texture that contrasts beautifully with the dense cookie base.
- Pastel-colored M&Ms or candy eggs: Provide festive spring color, sweet chocolate crunch, and that signature Easter egg hunt aesthetic on top.
- Gummy worms: The whimsical finishing touch that makes everyone smile, transforming your dessert into an edible garden scene.
- Additional crushed cookies: Optional extra topping for those who want more cookie crunch and an even dirtier-looking finish.
- Pastel sprinkles: Add tiny bursts of color and texture, perfect for enhancing the festive spring theme.
- Shredded coconut tinted with green food coloring: Creates edible ‘grass’ for a more realistic garden scene, adding texture and visual appeal.
How to Make It
Crush the Chocolate Sandwich Cookies:
Place the cookies in a large zip-top bag and use a rolling pin to crush them into fine crumbs, reserving about half a cup for the topping. You want a texture that resembles coarse sand or dirt, with some tiny chunks mixed in for realistic soil texture. This dual texture makes the base much more interesting to eat.
Mix the Cookie Base:
Melt the butter in the microwave for about 30 seconds until completely liquid, then pour it over your cookie crumbs. Use a fork to mix thoroughly until every crumb is moistened and the mixture looks like wet soil. This step ensures the base holds together firmly when sliced later.
Press and Chill the Base:
Firmly press the cookie mixture into the bottom of a 9×13-inch baking dish or large trifle bowl, creating an even, compacted layer that covers the entire bottom surface. Pop it in the refrigerator for just 10 minutes to let the butter solidify and the base set up properly. This quick chill prevents the creamy layers from sinking into the base later.
Create the Cream Cheese Layer:
In a large bowl, beat together the softened cream cheese and powdered sugar with an electric mixer on medium speed for about 2 minutes until completely smooth and fluffy. There should be absolutely no lumps remaining, which is why properly softened cream cheese is non-negotiable for this step. This layer provides the tangy, rich foundation for your pudding.
Prepare the Pudding Mixture:
In a separate bowl, whisk together both the chocolate and vanilla pudding mixes with the cold whole milk, then let the mixture stand for 2 minutes until it begins to thicken. Test it by dipping a spoon in – the pudding should coat the back evenly without running off immediately. This thickening step is crucial for the right final texture.
Combine and Fold in the Whipped Topping:
Fold the thickened pudding into the cream cheese mixture until well combined, then gently fold in the thawed whipped topping until no white streaks remain. Use a rubber spatula and a light hand to maintain as much air as possible in the mixture. This creates that signature light, mousse-like ‘soil’ layer.
Assemble the Layers:
Spread the pudding mixture evenly over your chilled cookie base, using an offset spatula for smooth, level coverage right to the edges. Cover the dish tightly with plastic wrap and refrigerate for at least 2 hours, though overnight is even better for the flavors to meld. The dessert needs this time to set up firmly for clean serving.
Add the Festive Toppings:
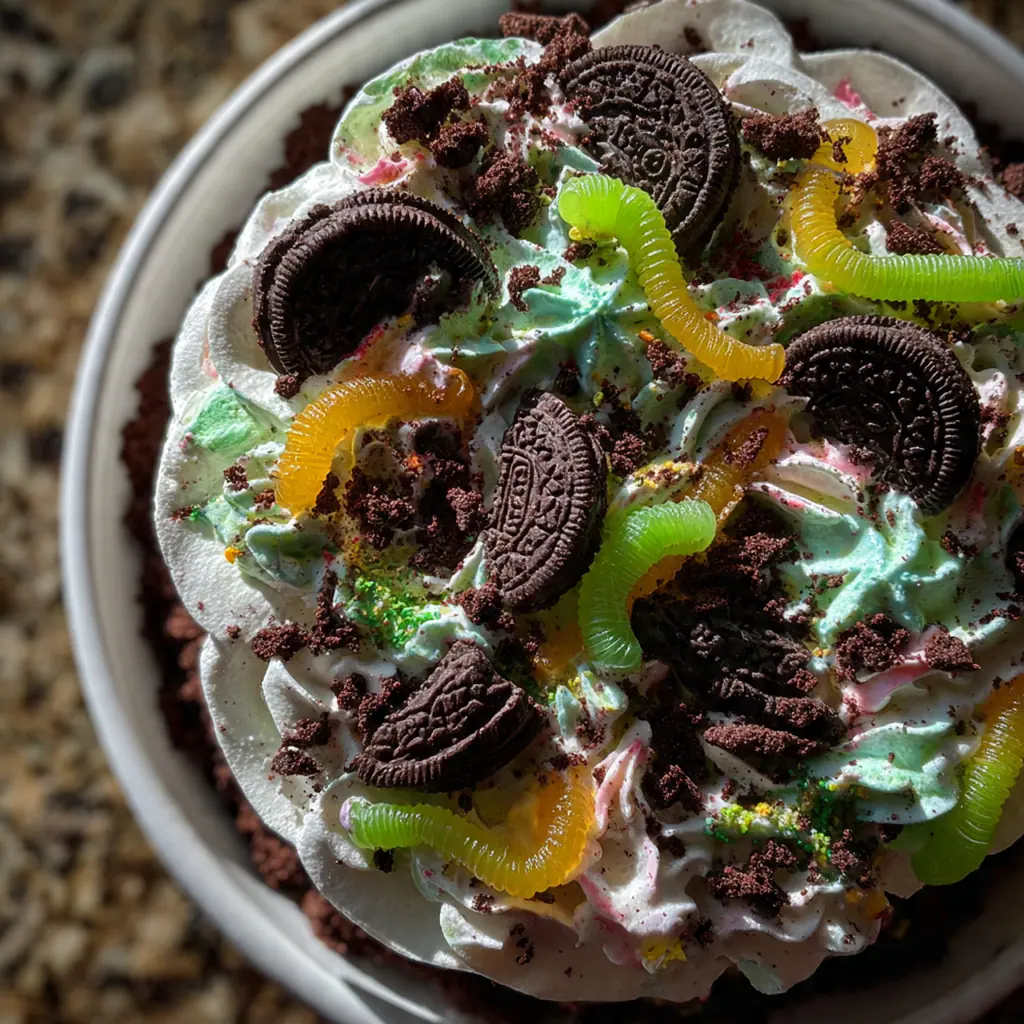
Just before serving, sprinkle the reserved cookie crumbs over the top, then scatter the pastel M&Ms and candy eggs throughout. Add gummy worms peeking out from the ‘dirt’ for that whimsical garden presentation. Return to the refrigerator for 10 minutes to let the toppings settle and chill before you dig in.
You Must Know
- Soften your cream cheese and butter completely on the counter for 1 hour before starting – t…
- Crush cookies in batches for more even texture – you want some sandy bits and some small chu…
- For the cleanest slices, dip your knife in hot water and wipe clean between cuts.
- If making in a trifle bowl, layer cookie crumbs, pudding, then repeat for a stunning striped…
- Don’t add the candy toppings until just before serving to prevent color bleeding and maintai…
- I make this dessert a day ahead because the flavors meld perfectly and it slices like a dream.
Storage Tips
Cover your Easter Dirt Cake Dessert tightly with plastic wrap and store it in the refrigerator for up to 5 days. The cookies will soften over time as they absorb moisture from the creamy layers, but the flavor remains absolutely delicious and the texture becomes almost more cake-like. I don’t recommend freezing this dessert because the texture becomes icy and watery when thawed, ruining that perfect creamy consistency you worked so hard to achieve. If you need to prep ahead, make the cookie base and cream cheese mixture up to a day early, then assemble everything the morning of your event for the freshest result.
Serving Suggestions
Serve portions in individual mason jars for portable treats at Easter egg hunts – kids love having their own personal dessert. Pair this Easter Dirt Cake Dessert with fresh strawberry shortcake or bright lemon bars for a complete spring dessert spread that offers variety in flavors and textures. Add a scoop of vanilla ice cream on the side for extra indulgence during celebrations when you want to go all out. For a more elegant presentation, pipe the creamy mixture into wine glasses and top with cookie crumbs and a single candy egg for individual portions at adult gatherings.
Cultural Context
Easter Dirt Cake Dessert represents American home baking at its most creative and nostalgic, emerging from the mid-20th century love for no-bake convenience foods. This dessert perfectly captures the playful spirit of American spring celebrations where food becomes entertainment, especially for children who get to ‘dig’ into their dessert. The concept of treating cookie crumbs like dirt has deep roots in American potluck culture, where visual appeal and make-ahead practicality reign supreme. Unlike traditional European desserts that rely on technique and baking, this represents the American innovation of turning simple pantry ingredients into something magical that brings families together around the table.
Pro Tips
- Dip your knife in hot water and wipe clean between each slice for restaurant-perfect portion…
- If using a trifle bowl, create alternating layers of cookie crumbs and pudding for a stunnin…
- Room temperature cream cheese and butter are non-negotiable – cold ingredients create lumps …
- Reserve those cookie crumbs for the topping – adding them last minute keeps the crunch that …
- My secret is letting it chill overnight; the flavors meld beautifully and the texture become…
Frequently Asked Questions
Crush 1 package of chocolate sandwich cookies into fine crumbs. You can use a food processor or place them in a zip-top bag and roll with a rolling pin. Mix 1/2 cup of the crumbs with softened butter to create the bottom layer, and reserve the rest for topping. This creates that signature ‘dirt’ texture that makes this dessert so fun.
Yes! This dessert is perfect for making ahead. Assemble the layers and refrigerate for up to 24 hours before serving. In fact, it tastes even better after the flavors have melded. Just add the final cookie crumb topping and candy eggs right before serving to keep them crunchy and fresh-looking.
You can substitute homemade whipped cream for the frozen whipped topping. Whip 1 1/2 cups of heavy cream with 1 tablespoon of powdered sugar until stiff peaks form. For a lighter version, consider using Greek yogurt, though the texture will be tangier. Coconut whipped cream also works for a dairy-free alternative.
No baking required! This is a completely no-bake dessert. The only ‘prep’ involves crushing cookies and mixing the pudding and cream cheese layers. The instant pudding mixes with cold milk set in the refrigerator, making this an easy dessert for hot spring days when you don’t want to turn on the oven.
As a rich American dessert, Easter Dirt Cake Dessert pairs wonderfully with fresh berries or a fruit salad to balance the sweetness. For drinks, consider serving it with cold milk, coffee, or a light dessert wine. It’s also great alongside other spring desserts like lemon bars or strawberry shortcake for a festive dessert spread.