


This mug brownie recipe is your secret weapon for instant chocolate satisfaction, a modern American classic that’s become a staple in my home. It emerged from the desire for a quick, single-serving dessert that doesn’t compromise on flavor. I’ve relied on it for years when cravings hit, and it always delivers a warm, gooey escape. The beauty lies in its simplicity—transforming everyday ingredients into a decadent treat in minutes. Once you master it, you’ll never face a chocolate emergency unprepared.
Why You'll Love This Recipe
- Ready in under 10 minutes, faster than any dessert delivery
- Just a mug and a fork for minimal cleanup
- Perfect single-serving size with no tempting leftovers
- The rich, fudgy texture is pure comfort in a cup
Ingredients You’ll Need
- All-purpose flour: provides the essential structure for your brownie, creating a tender crumb that holds the fudgy texture without becoming too dense.
- Granulated sugar: not only sweetens the batter but also helps create that classic crackly top as it caramelizes slightly during cooking.
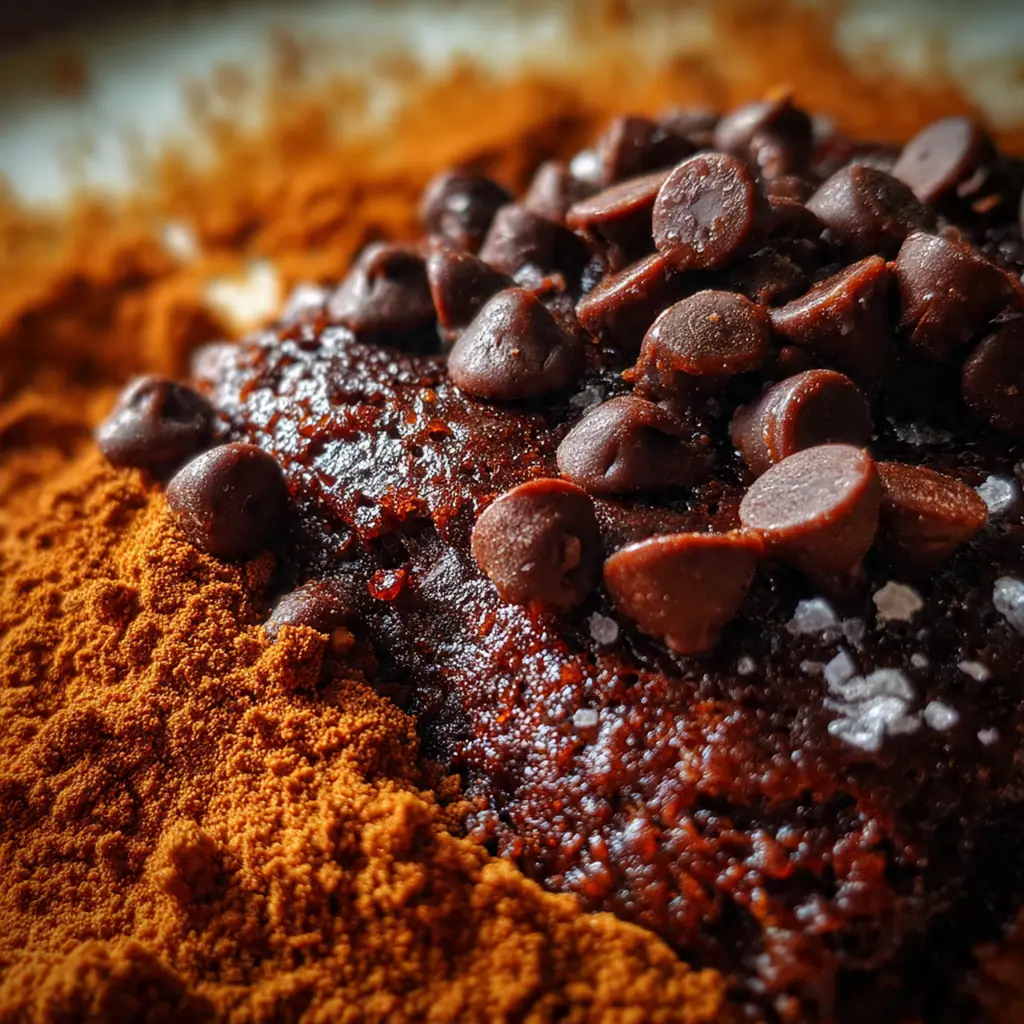
- Unsweetened cocoa powder: for deep, rich chocolate flavor; use natural cocoa powder for the best results in this quick microwave recipe.
- Fine salt: a tiny pinch enhances all the flavors and balances the sweetness, making the chocolate taste more pronounced.
- Baking powder: gives just a little lift so your brownie isn’t too dense, ensuring a perfect texture between fudgy and cakey.
- Milk: adds necessary moisture and richness to the batter; any type you have on hand works, from whole milk to plant-based.
- Vegetable oil or melted butter: oil keeps the brownie exceptionally moist and fudgy, while butter adds a rich, familiar flavor if you prefer.
- Pure vanilla extract: rounds out the chocolate with warm, aromatic notes, elevating the overall flavor profile of the dessert.
- Semi-sweet chocolate chips: melt into gooey pockets of chocolate throughout the brownie, adding bursts of sweetness and texture.
How to Make It
Choose Your Mug:
Grab a microwave-safe mug that holds at least 12 ounces to prevent messy overflow. I’ve learned the hard way that a smaller mug leads to a cleanup nightmare, and you don’t want to waste any batter. This size gives the batter room to rise as it cooks, keeping all that deliciousness contained. A ceramic mug works best because it heats evenly and stays cool enough to handle.
Combine Dry Ingredients:
Add the flour, sugar, cocoa powder, salt, and baking powder directly into the mug. Starting with dry ingredients ensures they’re evenly distributed before the wet ingredients are added. This simple step prevents any lumps and guarantees consistent flavor in every bite. I like to give it a little stir with my fork before adding anything else to check for clumps.
Whisk Until Uniform:
Use a fork to whisk the dry ingredients together thoroughly until you see no lumps. Take your time here; it only takes a moment but makes a huge difference. You want a homogeneous mix so that no pocket of unmixed cocoa or flour ruins your brownie. I whisk in a circular motion, scraping the sides of the mug to get everything incorporated.
Add Wet Ingredients:
Pour the milk, vegetable oil or melted butter, and vanilla extract into the mug. The oil keeps it fudgy, while butter adds a rich flavor if you prefer. I usually go for oil for maximum moisture, but butter days are for when I want extra indulgence. Pour slowly so you don’t create a splash that makes a mess.
Stir Into Batter:
Stir vigorously with the fork until you have a smooth, uniform brownie batter. Make sure to scrape the bottom and sides of the mug to incorporate everything evenly. A few lumps are okay, but aim for as smooth as possible for the best texture. I stir for about 30 seconds until the batter shines and all dry spots are gone.
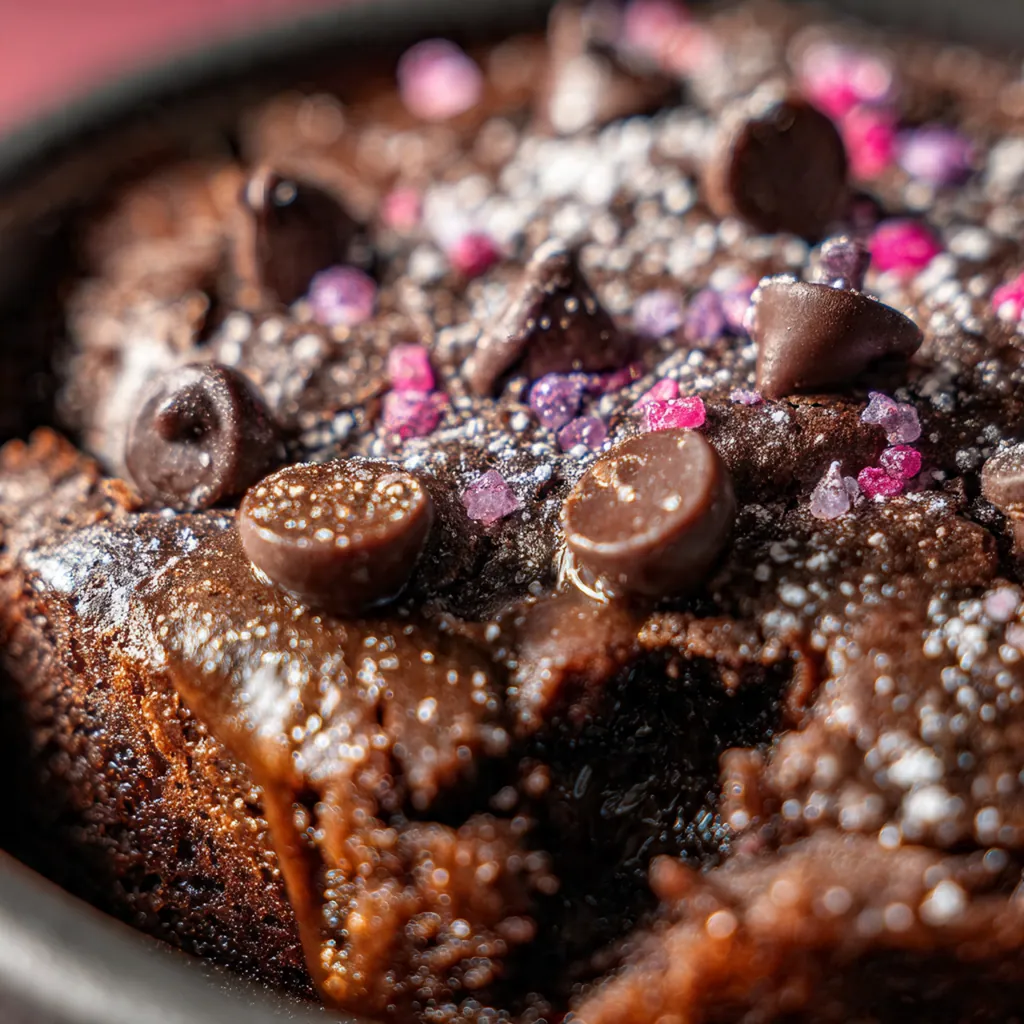
Fold in Chocolate Chips:
Gently fold in the chocolate chips until they’re distributed throughout the batter. This ensures every bite has melty chocolate pockets without overmixing. Overmixing can lead to a tough brownie, so be gentle here. I use the fork to lift and turn the batter, coating the chips without breaking them down.
Settle the Batter:
Tap the mug lightly on the counter to remove any large air pockets. This helps the brownie cook evenly and prevents uneven texture. It’s a quick step that ensures a consistent result from center to edge. I usually tap it two or three times until the batter levels out.
Microwave to Perfection:
Microwave on high power for 60 to 90 seconds, starting with 60. The brownie is done when the top looks set and dry, and the edges pull away slightly. Microwave powers vary, so keep an eye on it to avoid overcooking. If you’re unsure, do the toothpick test—it should come out with moist crumbs, not wet batter.
Cool and Top:
Carefully remove the hot mug and let it cool for 1-2 minutes before digging in. This allows it to set further and prevents burns. Then, add your favorite toppings and enjoy warm when it’s at its gooiest. I always wait because that patience pays off with a better texture and no burnt tongue.
You Must Know
- Always use a large mug to prevent messy overflow
- For a fudgier center, lean towards 60 seconds microwave time
- The toothpick test should show moist crumbs, not wet batter
- Let it cool a minute or two to set and avoid burns
Storage Tips
Mug brownies are truly best enjoyed immediately when they’re warm and gooey, but if you must save it, let it cool completely to room temperature first. Then, cover the mug tightly with plastic wrap—this keeps it from drying out and preserves the texture. It’ll stay good at room temperature for up to a day, though I find it becomes denser and less fudgy over time. If you want to revive it, a quick 10-15 second zap in the microwave brings back some of that warm, gooey magic. Just don’t expect it to be as perfect as fresh; it’s still a tasty treat, just different.
Ingredient Substitutions
If you’re out of all-purpose flour, a gluten-free blend works perfectly for a celiac-friendly version, just make sure it’s a 1:1 substitution blend. For dairy-free, swap the milk for any plant-based alternative like almond, oat, or soy milk, and use dairy-free chocolate chips. No vegetable oil? Melted butter adds richness, or coconut oil brings a subtle flavor that pairs well with chocolate. Out of vanilla extract? You can skip it, but it adds depth; a drop of almond extract can be a fun twist. Even the chocolate chips can be swapped for chunks of a chocolate bar, chopped nuts, or a swirl of peanut butter for customization.
Serving Suggestions
I love serving this mug brownie warm with a scoop of vanilla ice cream that melts into a mini sundae, creating a hot-and-cold contrast that’s irresistible. For extra decadence, drizzle with hot fudge or caramel sauce and a sprinkle of crushed pecans or walnuts for crunch. Fresh raspberries or strawberries add a bright, tart contrast that cuts through the richness, while a dusting of powdered sugar makes it look elegant and bakery-style. A pinch of flaky sea salt on top enhances the chocolate flavor beautifully, and sometimes I just enjoy it plain with a dollop of whipped cream for a simple, comforting treat. It’s versatile enough to match your mood.
Cultural Context
The mug brownie is a quintessential American invention, born from the fast-paced lifestyle and love for instant gratification that defines modern food culture. It echoes the tradition of single-serving desserts that became popular with the rise of microwave cooking in the late 20th century, reflecting how technology shapes our eating habits. While classic brownies have deep roots in American baking, often associated with potlucks, bake sales, and home kitchens, this mug version adapts that comfort for the contemporary era. It’s a testament to how American cuisine embraces convenience without sacrificing flavor, turning pantry staples into a comforting treat in minutes. You’ll find similar mug cakes across blogs and social media, reflecting our ongoing desire for quick, homemade desserts that fit busy schedules. It’s a democratic dessert—anyone can make it, anytime, with minimal tools.
Pro Tips
- Use a large mug to prevent overflow during cooking
- For fudginess, microwave 60 seconds; for cake-like texture, 90 seconds
- Test with a toothpick—it should come out with moist crumbs
- I always let it cool a minute so I don’t burn my tongue
Frequently Asked Questions
For the richest chocolate flavor, use a high-quality unsweetened cocoa powder as listed in the recipe. Natural or Dutch-processed cocoa will both work, but Dutch-processed offers a deeper, mellower chocolate taste. Avoid sweetened hot cocoa mix, as it will throw off the sugar balance.
This dessert is designed for immediate enjoyment. The magic of a mug brownie is its warm, fresh-from-the-‘oven’ texture. It’s best made and eaten right away, as it can become dense and rubbery if left to sit. The entire process takes less than 5 minutes, so you can always make it fresh.
You can use an equal amount of melted butter for a richer flavor, or a neutral-flavored oil like canola or avocado oil. For a dairy-free version, ensure you’re using a plant-based milk and stick with oil or a dairy-free butter alternative.
Start with the 1-2 minute cook time. The top should look set and dry, but a toothpick inserted near the center might still have a few moist crumbs—this is ideal for fudginess. Overcooking leads to a dry, cakey texture. If in doubt, err on the side of less time, as it will continue to cook slightly from residual heat.
For the ultimate American dessert experience, top your warm mug brownie with a scoop of vanilla ice cream, a dollop of whipped cream, or a drizzle of caramel sauce. A sprinkle of sea salt or extra chocolate chips right after cooking also takes it to the next level.