


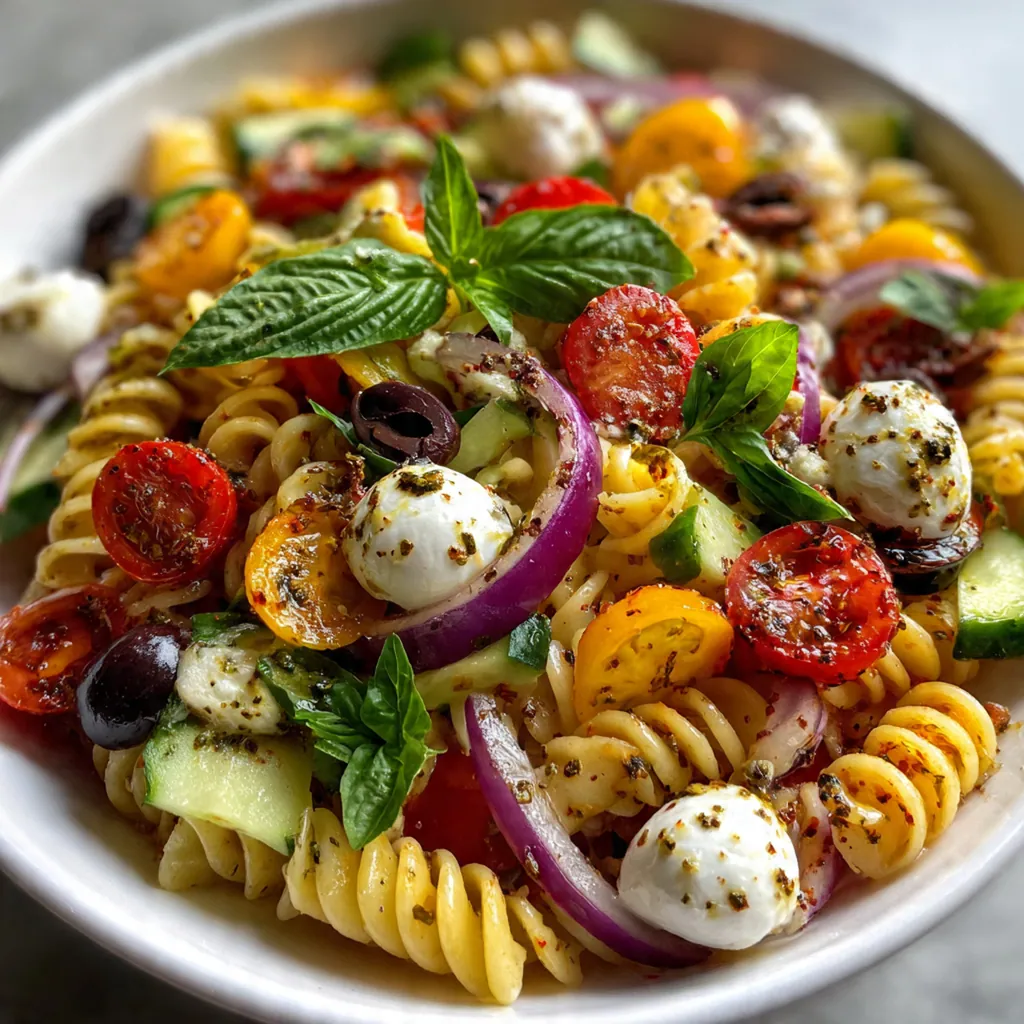
This Layered Pasta Salad Bowl is my go-to showstopper for every summer gathering, and it’s become a legend at our family potlucks for good reason. An Italian-American classic, this dish transforms simple, fresh ingredients into an edible work of art that you assemble ahead of time. The secret is keeping the colorful layers separate until the very moment you serve it, ensuring every bite is as crisp and bright as the first. It’s a practical yet stunning centerpiece that proves you can have beauty and flavor without any last-minute fuss.
Why You'll Love This Recipe
- It’s a make-ahead dream you can assemble a full day before you need it
- You’ll get endless compliments on the gorgeous, colorful layers in your clear bowl
- Each bite delivers a different combination of textures and bright flavors
- Everything stays perfectly crisp because you only toss it right before eating
- I promise it’s the first dish to disappear from any table
Ingredients You’ll Need
- Rotini or fusilli pasta: the curly shapes are perfect for catching and holding onto the creamy pesto dressing, creating a flavorful base that supports all the layers above it.
- Cherry tomatoes: their natural sweetness and firm texture hold up beautifully during chilling, choose the deepest red ones you can find for the best color pop.
- English cucumber: this variety has fewer seeds and thinner skin, giving you a crisp, refreshing crunch without any watery bitterness.
- Red bell pepper: adds a sweet, juicy crunch and a brilliant flash of red, look for peppers that feel heavy for their size.
- Canned chickpeas: they provide a lovely, hearty protein and a creamy texture, just make sure you rinse and dry them well to avoid a gritty dressing.
- Black olives: their briny, salty punch balances the richness of the cheeses, pitted Kalamata olives will give you even more flavor.
- Red onion: thinly sliced, it gives a sharp, vibrant bite that cuts through the creaminess, soaking the slices in cold water for 5 minutes tames their intensity.
- Shredded mozzarella cheese: melts ever so slightly into the other ingredients, creating pockets of creamy, mild flavor that bring everything together.
- Grated Parmesan cheese: delivers a sharp, salty, umami kick that amplifies the savory notes in every single layer.
- Fresh basil leaves: the heart of the pesto, they must be fresh and vibrant green for that unmistakable herbal fragrance.
- Pine nuts or walnuts: toasting them lightly before blending deepens their nutty flavor and makes your pesto dressing truly special.
- Fresh garlic: just two cloves provide the essential pungent backbone that makes the pesto dressing so irresistible.
- Extra virgin olive oil: use a good, fruity one here as it’s the main liquid in your dressing and its flavor shines through.
- Mayonnaise: this is the secret to a creamy, clingy pesto dressing that coats every ingredient luxuriously instead of sliding off.
- Fresh lemon juice: its bright acidity is the final balancing act, cutting the oil and cheese and making all the flavors pop.
How to Make It
Cook and Cool the Pasta Foundation:
Bring a large pot of salted water to a rolling boil and cook your pasta until it’s just tender with a bit of bite. You must drain it and rinse it immediately under cold water to stop the cooking completely, which keeps your pasta salad from becoming mushy. Toss the cooled pasta with just a tiny bit of olive oil so the strands don’t stick together while you prep everything else.
Prep Your Crisp Vegetables:
This is your chance to get all your components ready for their beautiful layered presentation. Halve the tomatoes, slice the cucumbers and olives, dice the bell pepper, and get your red onion as thin as you can. Take an extra minute to pat the rinsed chickpeas completely dry with a paper towel, it makes a huge difference in your final texture.
Blend the Creamy Pesto Dressing:
In your food processor, pulse the fresh basil, nuts, and garlic until they form a coarse, fragrant paste. With the machine running, slowly drizzle in the olive oil until it becomes loose and saucy. Then add the mayonnaise, lemon juice, salt, and pepper, processing again until it’s perfectly smooth and creamy. You’ll use half to dress the pasta base and save the rest for the top.
Create Your Flavorful Base Layer:
In a large bowl, combine your completely cooled pasta with about half of that glorious pesto dressing. Stir it gently but thoroughly until every single piece of pasta is coated in that herby, creamy goodness. This dressed pasta becomes the foundation of your entire Layered Pasta Salad Bowl.
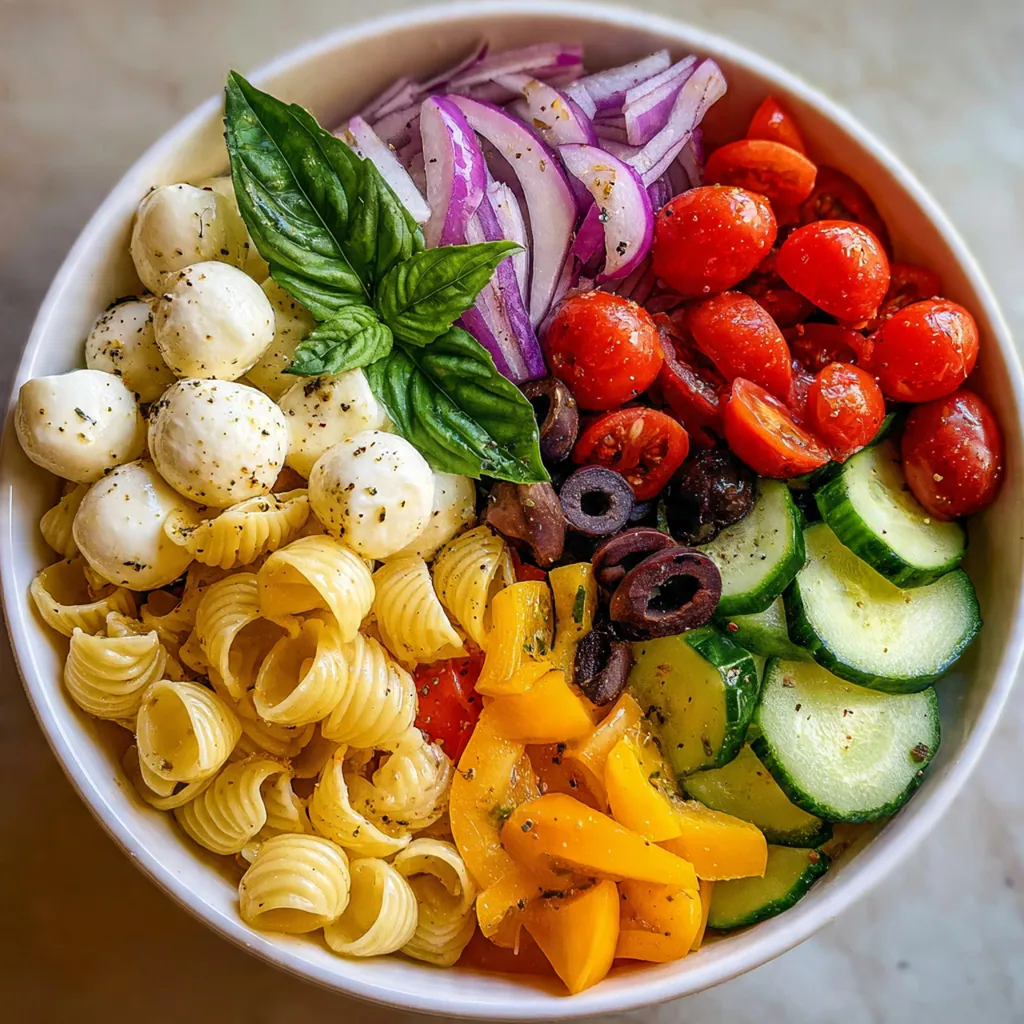
Build the Vibrant Layers:
Now for the fun part, grab your large clear glass bowl. Spread the dressed pasta evenly across the bottom as your first layer. Then, carefully add the remaining ingredients in the specified order, creating distinct bands of color and texture. Resist every urge to stir, the magic happens in the refrigerator.
Chill and Let the Flavors Mingle:
Pour the remaining pesto dressing right over the very top layer, letting it pool in the center. Cover the bowl tightly with plastic wrap and let it rest in the fridge for at least an hour. This chilling time is non-negotiable, it lets the flavors penetrate and develop into something truly special.
The Grand Final Toss:
Just before you’re ready to serve, bring your masterpiece to the table. Use two large spoons or salad servers and gently toss the salad from the bottom up, integrating all those beautiful, distinct layers into one cohesive dish. Garnish with a few extra basil leaves and a sprinkle of Parmesan for that final touch.
You Must Know
- Rinsing the cooked pasta in cold water is non-negotiable for perfect texture
- Pat your chopped veggies dry to prevent a watery salad
- Let the assembled bowl chill for at least an hour before serving
- Using a clear bowl shows off all your hard work
- It’s the one potluck trick I swear by every time
Storage Tips
Store your untossed Layered Pasta Salad Bowl covered tightly with plastic wrap in the refrigerator for up to 24 hours, and it honestly gets better as it chills. Once you’ve tossed and served it, any leftovers will keep well in an airtight container for 2 to 3 days, though the vegetables will lose a bit of their snap. I don’t recommend freezing this salad at all, as the mayonnaise in the dressing can separate and the fresh vegetables will become unpleasantly mushy upon thawing.
Ingredient Substitutions
If you need a gluten-free version, simply swap the regular pasta for your favorite gluten-free rotini and cook it al dente. For a dairy-free twist, omit the mozzarella and Parmesan and use a vegan mayonnaise along with a dairy-free pesto. Not a fan of chickpeas, white beans or chopped grilled chicken work wonderfully, and you can swap the pine nuts for sunflower seeds if you have a nut allergy. Don’t have fresh basil, a good quality store-bought pesto mixed with mayo and lemon juice can work in a real pinch.
Serving Suggestions
This Layered Pasta Salad Bowl is a hearty, complete meal on its own, but it truly shines as part of a larger spread. I love pairing it with simple grilled proteins like lemon-herb chicken breasts, juicy burgers, or Italian sausages fresh off the barbecue. Round out the plate with some crusty garlic bread or focaccia to soak up any extra dressing, and you’ve got a perfect, crowd-pleasing meal for any sunny afternoon gathering.
Cultural Context
This Layered Pasta Salad Bowl is a brilliant example of Italian-American potluck ingenuity, taking the vibrant, herb-forward flavors of a classic basil pesto and combining them with the make-ahead, shareable sensibility of American picnic culture. While you won’t find this exact architectural presentation in a trattoria in Liguria, the soul of the dish – the pesto, the pasta, the Parmesan – is deeply rooted in Northern Italian tradition. It’s a celebration of fresh, accessible ingredients combined in a way that’s both practical for feeding a crowd and stunning enough to be the center of attention, a true fusion that works perfectly.
Pro Tips
- A clear glass trifle bowl is your best friend for showcasing the layers
- Add optional pepperoni between the veg and cheese for a salty kick
- Let the pasta cool completely before dressing it or it will soak up the sauce
- Toast your nuts lightly for a deeper, richer pesto flavor
- I always make the full bowl, the leftovers are even better the next day
Frequently Asked Questions
Rotini or fusilli pasta works perfectly because their spiral and corkscrew shapes hold the homemade basil pesto dressing and trap bits of vegetables and cheese in every bite. Their sturdy structure also holds up well when layered and won’t get mushy if made ahead.
Absolutely! Its make-ahead design is one of its best features. You can layer all the components—cooked pasta, cherry tomatoes, cucumber, bell pepper, chickpeas, olives, onion, and cheeses—in the bowl up to 24 hours in advance. Simply prepare the basil pesto dressing separately and toss everything together just before serving to keep it crisp.
Walnuts are an excellent and more affordable substitute for pine nuts in the basil pesto dressing, offering a similar earthy richness. You can also use sunflower seeds for a nut-free version, or simply omit the nuts altogether for a smoother, herb-forward pesto.
Your salad is ready once all the vibrant layers are assembled in the bowl and the homemade basil pesto dressing is prepared. The magic happens just before serving—simply pour the dressing over the top and toss everything together until the pasta, fresh vegetables, mozzarella, parmesan, and chickpeas are evenly coated.
As an Italian-American side, it pairs wonderfully with grilled classics like chicken, burgers, or sausages at a barbecue. For a picnic or potluck, it’s a hearty companion to sandwiches, fried chicken, or as part of a larger spread with other salads. It’s substantial enough to be a light main course on its own.