

This Coconut Cream Dessert Lush is the no-bake wonder you’ll turn to again and again for parties, potlucks, or whenever a creamy tropical craving hits. It’s a classic American layered dessert that feels decadent yet is incredibly simple to assemble, requiring just a few bowls and a fridge. The magic is in those stunning layers: a buttery graham cracker crust, a rich cream cheese filling, and a coconut pudding layer that tastes like a dream. You’ll love how it looks like you spent hours in the kitchen when the hardest part is simply waiting for it to chill.
Why You'll Love This Recipe
- No oven needed means you can make it even on the hottest day
- Those beautiful, creamy layers come together with just a few mixes
- It’s the ultimate make-ahead dessert that frees up your party day
- That coconut flavor is pure tropical comfort in every bite
- Honestly, it’s the dessert my family requests most
Ingredients You’ll Need
- Graham cracker crumbs: they create the classic crunchy base for your lush, I always use the honey kind for that familiar sweet flavor.
- Unsalted butter: melted butter binds the crust together and adds rich flavor, letting you control the saltiness of the final dessert.
- Granulated sugar: a little sugar in the crust balances the tang of the cream cheese and adds a slight caramelized note.
- Cream cheese: softened fully for a silky smooth layer, it’s the rich and tangy foundation that holds the whole dessert together.
- Powdered sugar: it dissolves instantly into the cream cheese without any graininess for the smoothest possible filling.
- Pure vanilla extract: a touch of vanilla rounds out all the other flavors and adds a warm, familiar aroma.
- Frozen whipped topping: divided use, it lightens the cream cheese and creates the fluffy top layer that makes this lush so iconic.
- Instant vanilla pudding mix: this starts the creamy pudding layer and provides a reliable, quick-setting base.
- Instant coconut cream pudding mix: the star of the show, this is where that authentic, creamy coconut flavor really comes through.
- Cold whole milk: using cold milk is non-negotiable for getting the pudding to whip up thick and set properly.
- Sweetened shredded coconut: stirred into the pudding, it gives wonderful texture and an extra punch of coconut in every bite.
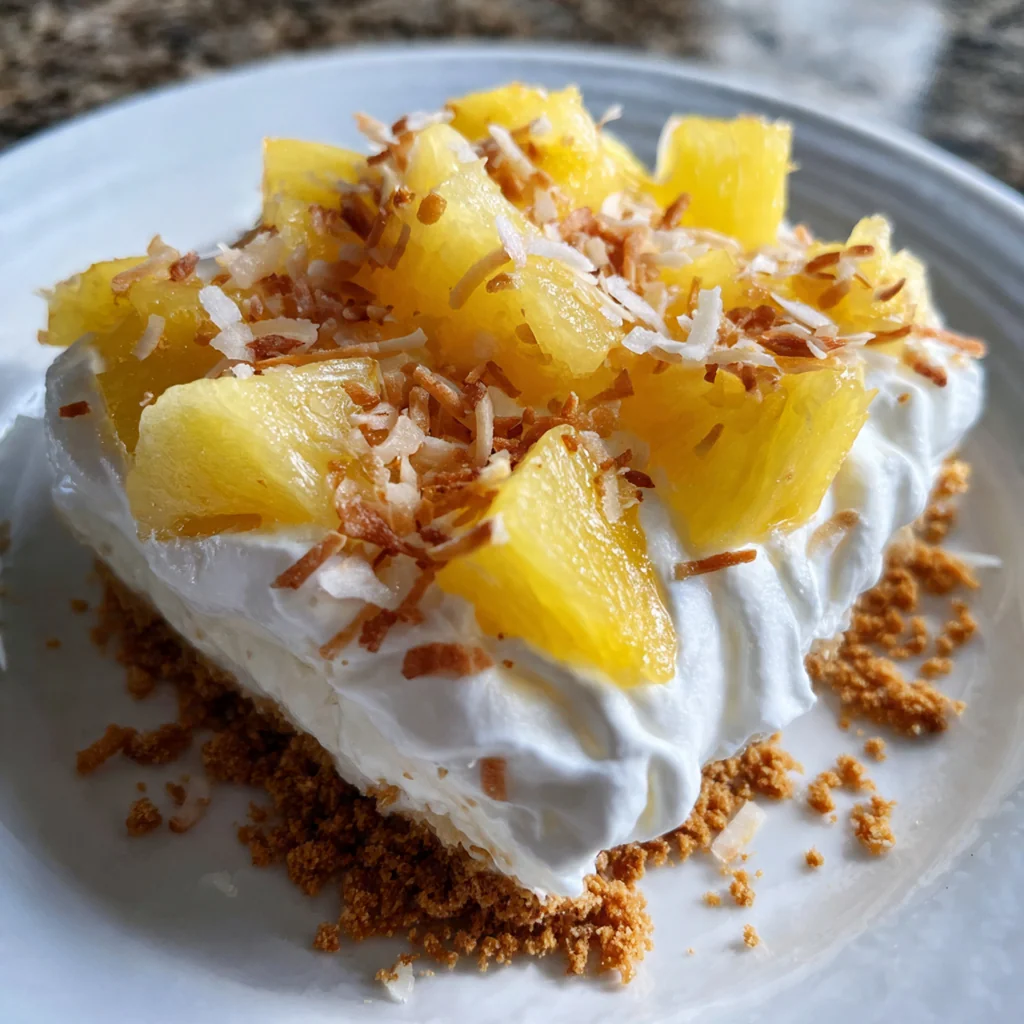
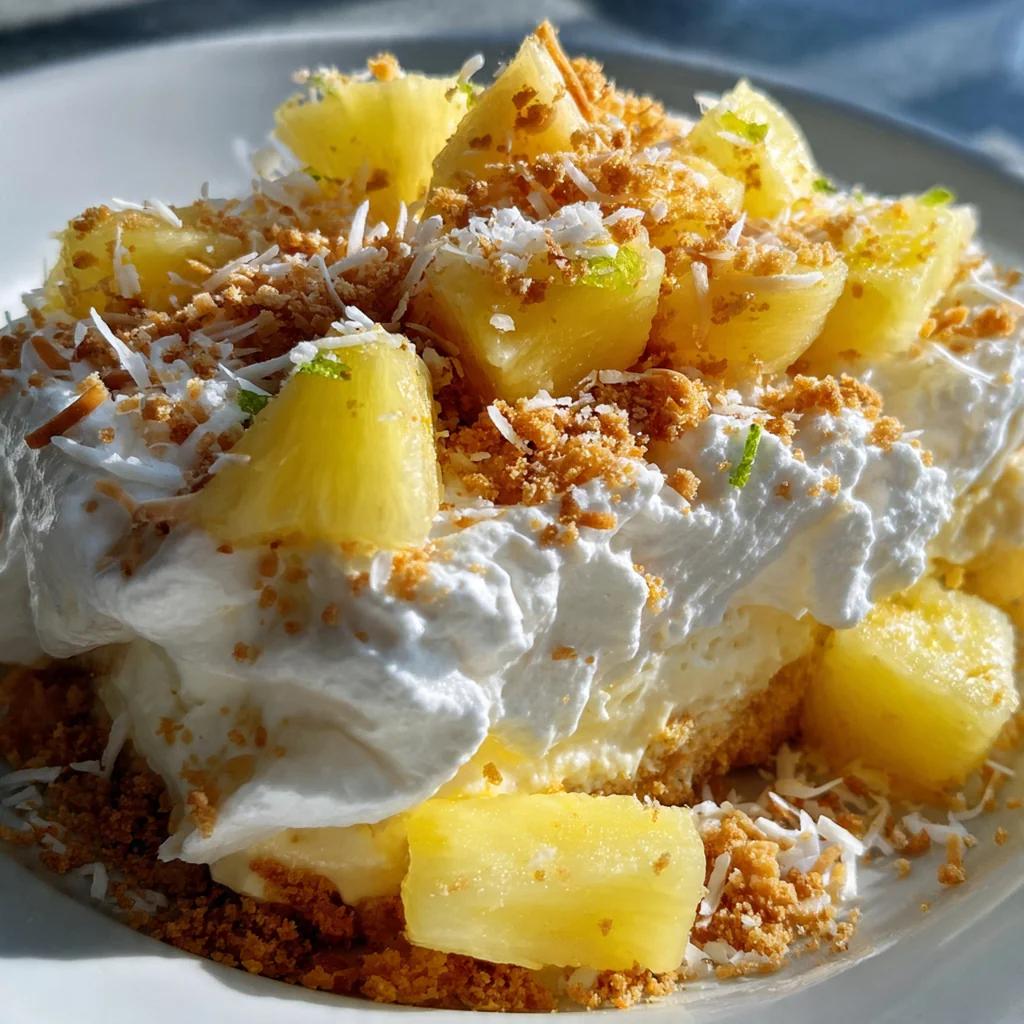
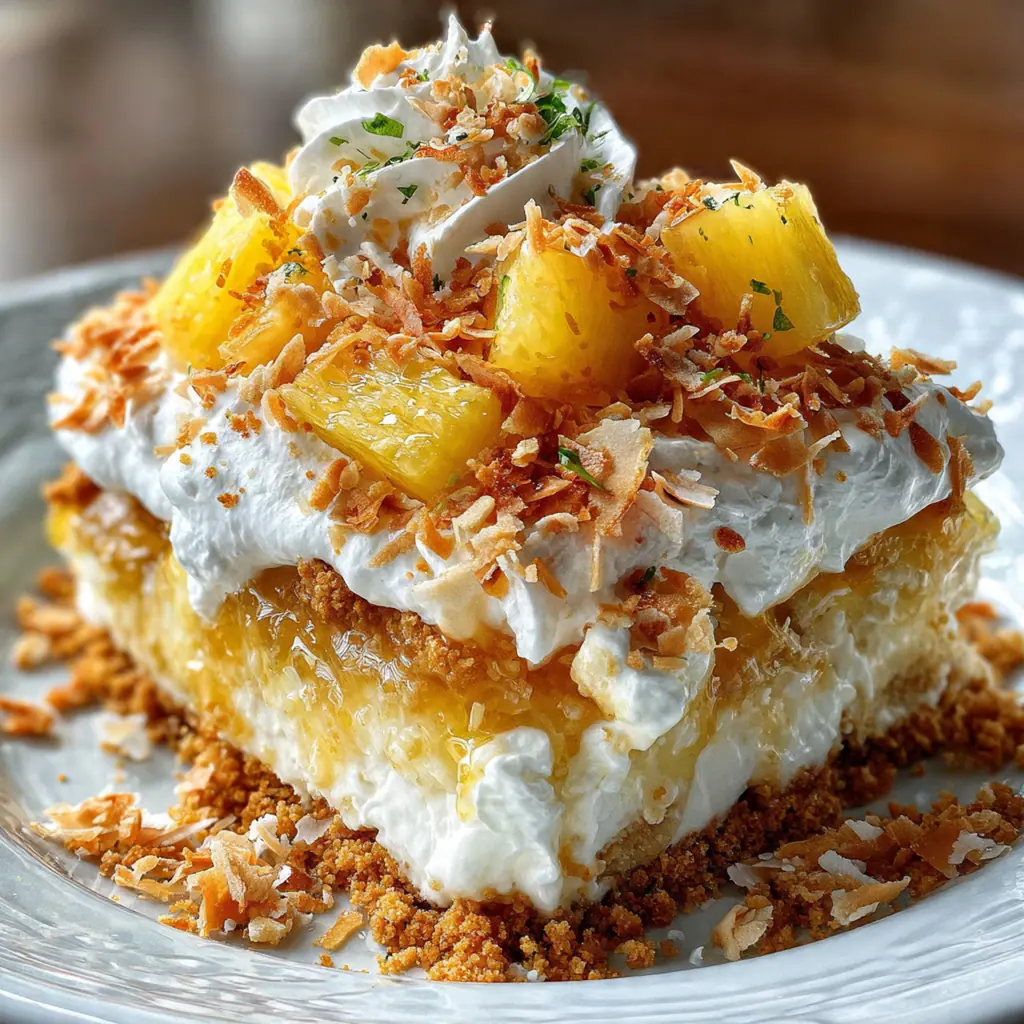
- Toasted coconut flakes: an optional garnish that adds a gorgeous golden color and a nutty, crispy texture contrast.
- Maraschino cherries: a classic, fun garnish that adds a pop of red and a sweet cherry flavor.
- Lime zest: just a sprinkle adds a bright, aromatic finish that cuts through the richness beautifully.
How to Make It
Make the Graham Cracker Crust:
In a medium bowl, combine the graham cracker crumbs, melted butter, and sugar. You want every crumb to look evenly moistened. Press this mixture firmly and evenly into the bottom of your 9×13 dish – a flat-bottomed cup helps get it nice and compact. This solid base is key for clean slices later.
Whip the Cream Cheese Layer:
In a large bowl, beat your softened cream cheese with an electric mixer until it’s completely smooth and lump-free. Scrape down the sides of the bowl to make sure you get everything. This step is crucial for that velvety texture you’re after.
Sweeten and Flavor:
Add the powdered sugar and vanilla to the whipped cream cheese. Start mixing on low so the sugar doesn’t fly everywhere, then bump it up to medium until the mixture is perfectly smooth and combined. You shouldn’t see any streaks of powdered sugar left.
Fold in the Whipped Topping:
Gently fold in half of the thawed whipped topping using a spatula. Use a folding motion rather than stirring to keep the mixture light and airy. Stop as soon as the white streaks disappear, then spread this layer evenly over your prepared crust.
Prepare the Coconut Pudding Layer:
In a separate large bowl, whisk together both pudding mixes and the cold milk. Whisk vigorously for a full two minutes – don’t shortcut this, as it’s what makes the pudding thicken properly. Immediately stir in the sweetened shredded coconut.
Assemble the Pudding Layer:
Carefully spread the thick pudding and coconut mixture over the cream cheese layer. I find it easiest to drop spoonfuls across the surface first, then gently spread them together. Try not to disturb the layer underneath.
Add the Final Whipped Topping:
Spread the remaining half of the whipped topping evenly over the pudding. Use your spatula to make pretty swoops or a smooth finish, whatever you prefer. This is your canvas for garnishes.
Garnish and Chill:
If you’re using them, sprinkle the toasted coconut flakes or other garnishes evenly over the top. Cover the dish tightly with plastic wrap and refrigerate for at least four hours, though overnight is ideal. This chilling time is what allows all the layers to set and the flavors to meld.
Slice and Serve:
When you’re ready to serve, use a sharp knife to cut into squares. For the cleanest cuts, you can briefly dip the knife in hot water and wipe it dry between slices. Serve the squares chilled straight from the dish.
You Must Know
- Let your cream cheese soften fully to avoid a lumpy layer
- Cold milk is essential for the pudding to set up thick and rich
- That four-hour chill is not a suggestion – it’s mandatory for perfect slices
- Toasting the coconut garnish takes it from good to incredible
- I never skip the toasting step anymore
Storage Tips
Once set, you’ll want to keep any leftovers covered tightly with plastic wrap or in an airtight container in the refrigerator. It stays at its best for up to three days, though the texture is absolutely perfect within the first two. I don’t recommend freezing this Coconut Cream Dessert Lush because the layers can separate and become a bit watery when thawed, losing that wonderful creamy consistency. If you need to travel with it, just keep it in a cooler with an ice pack until you’re ready to serve.
Ingredient Substitutions
If you can’t find coconut cream pudding mix, just use a second box of vanilla pudding and add a teaspoon of coconut extract to the milk along with it – the flavor will still be fantastic. For a gluten-free version, swap the regular graham crackers for your favorite gluten-free brand, crushed into crumbs. For dairy-free, use dairy-free cream cheese and whipped topping, along with a rich, unsweetened coconut milk beverage for the cold milk. The sweetened shredded coconut is pretty essential for texture, but in a pinch, you could use unsweetened and just be aware the pudding layer will be a touch less sweet.
Serving Suggestions
I love serving squares of this lush all on their own, but a light drizzle of chocolate or caramel sauce just before serving takes it to a whole new level of indulgence. For a fun party presentation, you can even scoop it into pretty glasses for a parfait-style treat. It pairs wonderfully with a cup of strong coffee to balance the sweetness, or with an iced tea or a mocktail piña colada to double down on the tropical vibes. It’s rich, so small squares are often plenty, especially after a big meal.
Cultural Context
This style of dessert, often called a ‘lush’ or a ‘layered dessert,’ is a quintessential part of American potluck and church supper culture, especially across the Midwest and the South. It belongs to a family of no-bake treats that became hugely popular in the mid-20th century with the advent of convenient packaged ingredients like instant pudding and whipped topping. The genius is in creating something that looks incredibly impressive and tastes homemade, yet is accessible for any home cook regardless of baking skill. The coconut cream variation taps into the perennial love for tropical flavors, offering a little escape in every creamy, cool bite.
Pro Tips
- Toast your coconut garnish for a deeper, nuttier flavor
- A hot knife is the secret to pristine, clean-cut squares
- Make it the day before for stress-free entertaining
- If your cream cheese is cold, microwave it in 10-second bursts
- This tip alone saves me from lumpy layers every time
Frequently Asked Questions
This recipe specifically uses instant pudding mixes—one vanilla and one coconut cream flavor. Using ‘instant’ pudding is crucial as it sets quickly with cold milk without cooking, creating the perfect creamy layer for this no-bake dessert. Cook-and-serve pudding will not work correctly.
Absolutely! Making it ahead is one of its best features. Assemble the lush completely, then cover and refrigerate for up to 24 hours before serving. This allows all the layers to set firmly, making it easy to slice cleanly.
For a from-scratch option, you can substitute an equal amount of freshly whipped heavy cream sweetened with a little powdered sugar. However, the stabilized nature of the frozen topping helps maintain the dessert’s structure for longer if you’re making it a day in advance.
The lush is ready when it’s thoroughly chilled and the layers are firm. After the final assembly, refrigerate it for at least 4 hours, or ideally overnight. You’ll see defined layers, and a knife or spatula will cut through cleanly without the layers blending together.
This rich, creamy dessert is fantastic on its own. For an elegant touch, garnish individual slices with a sprinkle of toasted coconut flakes, a drizzle of chocolate sauce, or a few fresh berries. It pairs wonderfully with a cup of coffee or a light, fruity dessert wine.