

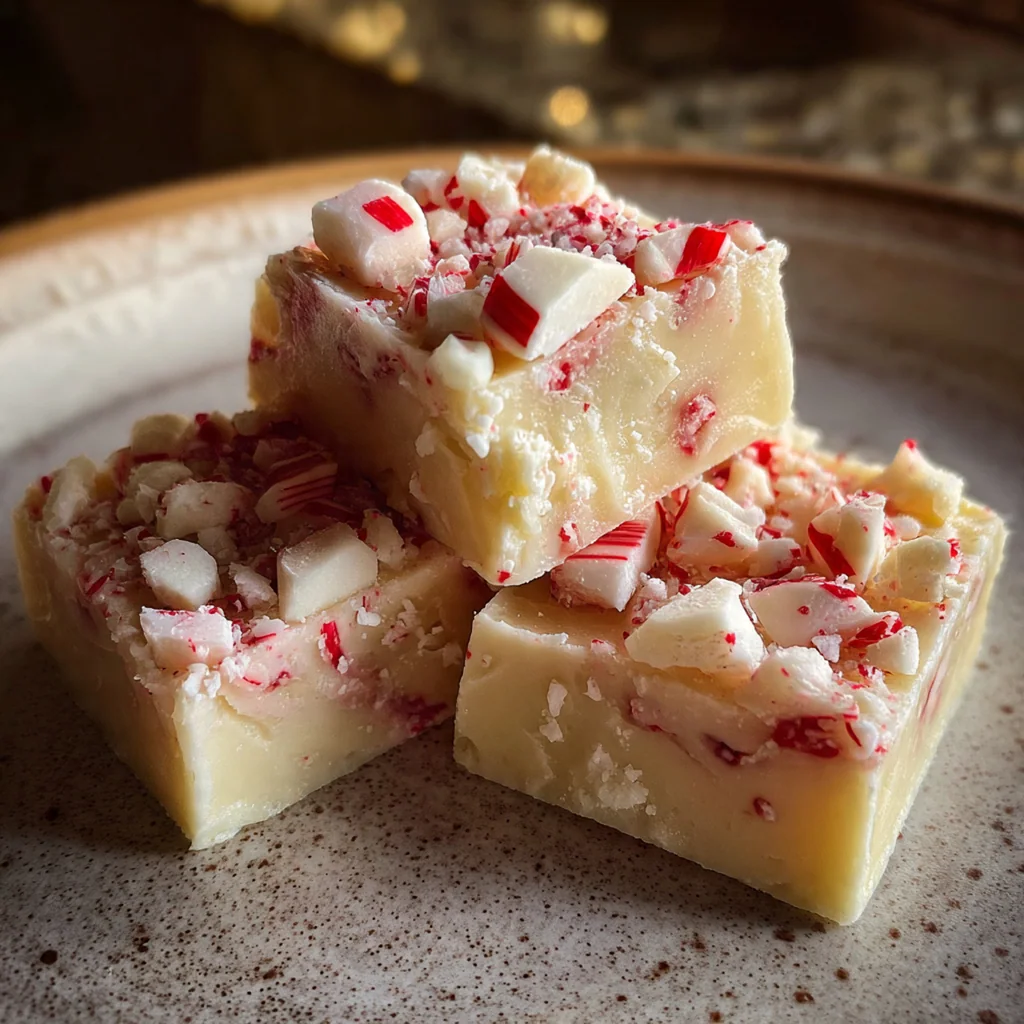
Candy Cane Fudge has been a staple on my holiday dessert table for as long as I can remember. This American no-bake treat combines creamy white chocolate with the festive crunch of peppermint candy canes. It’s incredibly simple to whip up with just 10 minutes of active cooking time, making it perfect for busy December days. The red and white swirls bring a pop of cheer to any gathering, and it always disappears fast from cookie exchanges.
Why You'll Love This Recipe
- You only need 10 minutes of active cooking for this festive treat
- The creamy fudge and crunchy peppermint combo is absolutely irresistible
- It’s a no-bake dessert that keeps your kitchen cool during the holidays
- Kids have a blast crushing the candy canes and stirring the mix
Ingredients You’ll Need
- Unsalted butter: greasing the pan ensures your fudge releases cleanly, while cubing butter into the mix adds richness and a silky texture to your candy cane fudge.
- White chocolate chips: opt for high-quality chips with real cocoa butter for the smoothest melt and best flavor in every bite.
- Sweetened condensed milk: this thick, sweet milk is the fudge foundation that guarantees a creamy set without any tricky sugar thermometers.
- Pure vanilla extract: a teaspoon rounds out the sweetness and complements the white chocolate with a warm, aromatic background note.
- Pure peppermint extract: use pure extract for a vibrant, authentic peppermint taste that doesn’t taste artificial or overpowering.
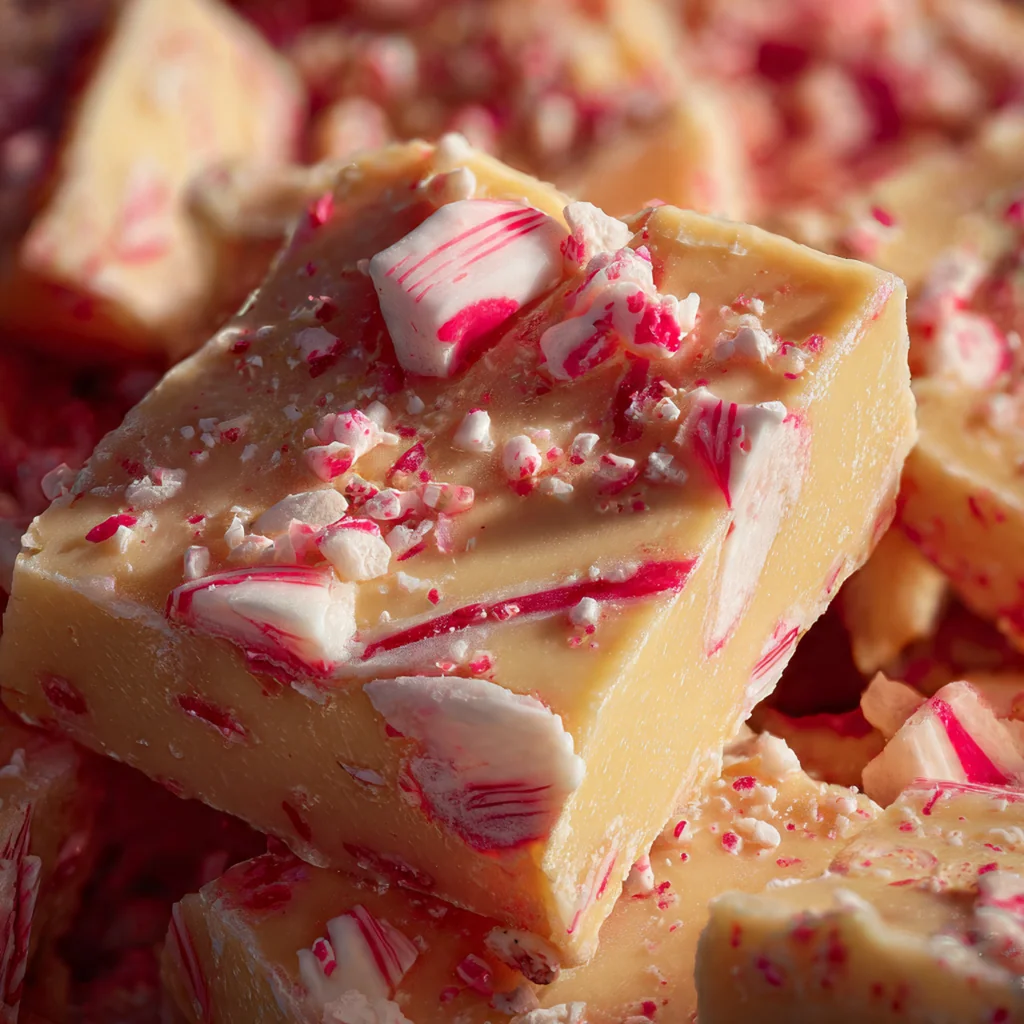
- Crushed candy canes: they give festive color and a satisfying crunch; crush some finely and some coarsely for varied texture.
- Red liquid food coloring: a few drops create pretty red swirls for holiday cheer, but skip it if you prefer pure white fudge.
- Fine sea salt: just a pinch cuts through the sweetness and heightens all the other flavors in your candy cane fudge.
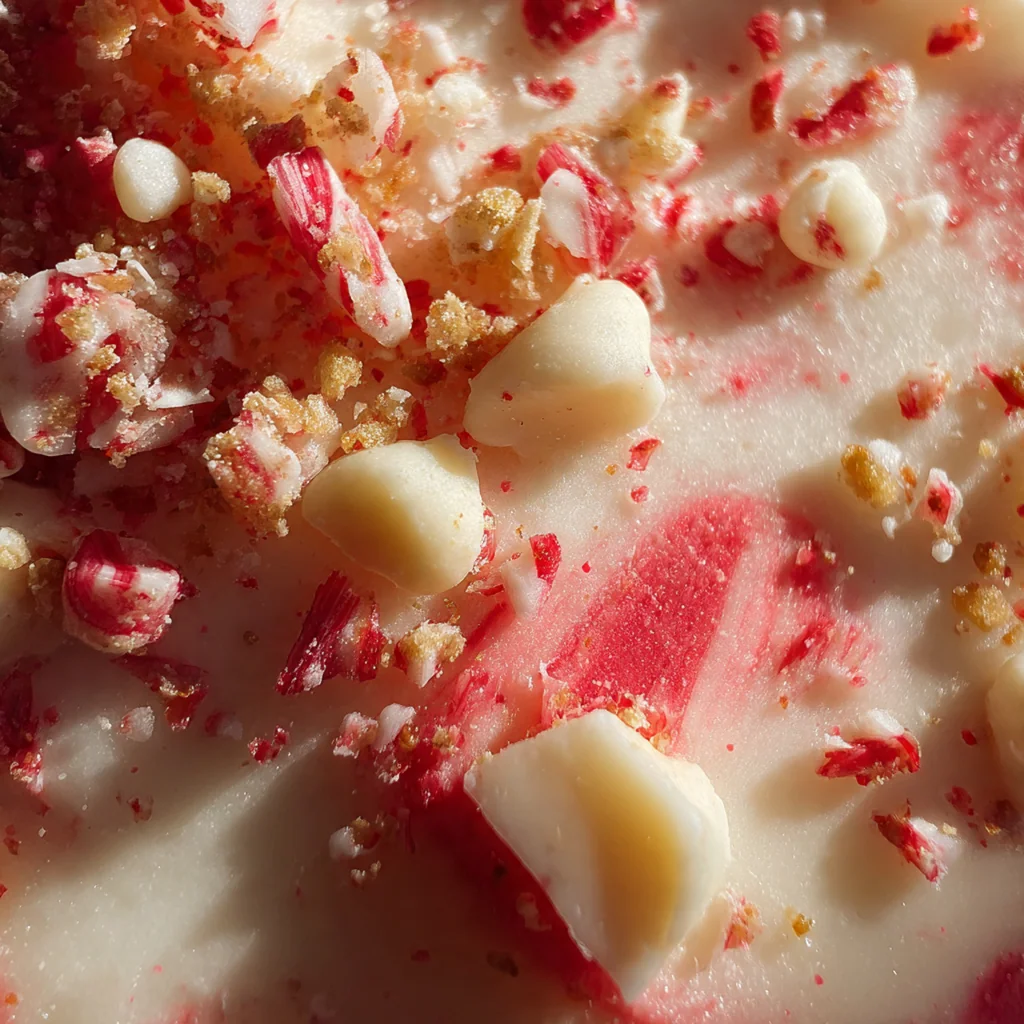
- Extra crushed candy canes: sprinkling these on top makes the fudge look extra festive and adds a final peppermint crunch.
- Melted white chocolate: a simple drizzle over the top elevates the presentation and adds another layer of creamy sweetness.
How to Make It
Prepare Your Pan:
Start by lining an 8×8-inch baking pan with parchment paper, leaving an overhang on two sides – this trick makes lifting the set fudge out a breeze. Lightly grease the parchment with that tablespoon of butter; it ensures no sticking and gives you perfect squares every time.
Crush the Candy Canes:
Toss the candy canes into a sturdy zip-top bag while they’re still in their wrappers to minimize mess. Use a rolling pin or meat mallet to crush them into a mix of fine crumbs and small pieces; you want texture for that festive crunch. Measure out one cup total, setting aside two tablespoons for sprinkling on top later.
Melt the Fudge Base:
In a medium saucepan, combine the white chocolate chips, sweetened condensed milk, and cubed butter. Heat over low heat, stirring constantly with a wooden spoon or spatula until everything is completely melted and smooth, about 5-7 minutes. Keep the heat low and don’t let it boil – patience here gives you silky, not grainy, candy cane fudge.
Infuse with Flavor:
Take the saucepan off the heat and immediately stir in the vanilla extract, peppermint extract, salt, and red food coloring if you’re using it. Mix until fully incorporated and the color is even; this is where the holiday magic really comes together in the bowl.
Add the Candy Cane Crunch:
Gently fold in three-quarters cup of the crushed candy canes, reserving the rest for topping. Use a folding motion to distribute them without overmixing – you want to keep those pretty red and white pieces intact for texture.
Spread and Top:
Pour the fudge mixture into your prepared pan and use a spatula to spread it into an even layer. Sprinkle the reserved crushed candy canes evenly over the top, pressing them in lightly with your fingers so they stick and won’t fall off when you cut it.
Chill Until Set:
Pop the pan into the refrigerator, uncovered, for at least four hours or until the fudge is completely firm and set. I know it’s tempting, but don’t rush this step; proper chilling means your candy cane fudge will cut cleanly and hold its shape.
Remove and Cut:
Once set, use the parchment paper overhang to lift the fudge block out of the pan and onto a cutting board. Using a sharp knife, cut into one-inch squares, wiping the knife with a hot, damp cloth between slices for those picture-perfect edges.
Serve and Enjoy:
Arrange your candy cane fudge squares on a holiday platter and get ready for compliments. They’re creamy, crunchy, and packed with peppermint cheer – exactly what every Christmas table needs.
You Must Know
- Use high-quality white chocolate for the best flavor and texture
- Crush candy canes in their wrappers to keep mess contained
- Let the fudge chill fully for clean, easy cuts
- A hot knife makes all the difference for neat squares
Storage Tips
Store your candy cane fudge in an airtight container in the refrigerator where it’ll stay fresh and creamy for up to two weeks. If you want to keep it longer, you can freeze it for up to three months – just separate layers with parchment paper so they don’t stick together and thaw overnight in the fridge before serving. I often make a double batch in early December and stash some in the freezer for last-minute holiday parties; it always tastes just as good as the day I made it.
Ingredient Substitutions
If you’re out of white chocolate chips, high-quality white chocolate bars chopped up work just as well, but avoid candy melts as they won’t set properly. For a dairy-free version, use dairy-free white chocolate and sweetened condensed coconut milk, though the texture might be slightly different. No peppermint extract? A bit more crushed candy canes can add flavor, but the extract really gives that bold peppermint kick. And if candy canes aren’t available, crushed peppermint candies or starlight mints make a great substitute with the same festive crunch.
Serving Suggestions
I love arranging this candy cane fudge on a festive platter alongside classic Christmas cookies like gingerbread men and shortbread for a beautiful dessert spread that always gets rave reviews. It’s also fantastic served with a mug of rich hot chocolate or a peppermint mocha – the creamy fudge and warm drink complement each other perfectly. For a fun holiday party idea, pack small squares in cellophane bags tied with ribbon as sweet handmade gifts that everyone appreciates. You can even layer it in a jar with other treats for a homemade holiday gift basket.
Cultural Context
Candy cane fudge is a modern American holiday creation that blends the old-fashioned comfort of fudge with the festive symbolism of candy canes. Fudge itself has deep roots in American culinary history, often associated with vacation spots and home kitchens where it was a popular sweet. Candy canes, with their red and white stripes and peppermint flavor, have been Christmas icons for over a century, representing the season’s joy and tradition. This recipe brings these elements together in a no-bake format that fits today’s busy lifestyles, making it a beloved addition to cookie exchanges and holiday tables across the country. It’s a testament to how holiday traditions evolve with simple, shareable treats that everyone can enjoy.
Pro Tips
- Score the fudge lightly before chilling for guide marks
- Let it sit at room temp for 10 minutes if too hard to cut
- Add an extra 1/4 tsp peppermint extract for a stronger flavor
- I always use a hot knife for the cleanest slices
Frequently Asked Questions
For the best texture and flavor, use high-quality white chocolate chips or baking bars. They melt smoothly with the sweetened condensed milk, creating a creamy base for the peppermint and candy cane pieces. Avoid white chocolate morsels with a high wax content for optimal results.
Absolutely! This fudge is perfect for making ahead. Once set and cut, store it in an airtight container in the refrigerator for up to two weeks, or freeze it for up to three months. The flavors actually meld and improve after a day.
If you don’t have pure peppermint extract, you can use 1-2 teaspoons of peppermint syrup or omit it. For a different twist, try using a teaspoon of vanilla extract instead for a classic vanilla fudge. The candy cane pieces will still provide a lovely peppermint flavor.
The fudge is ready when the white chocolate mixture is completely smooth and the chips have melted. After pouring it into the pan, it needs to chill in the refrigerator for at least 2 hours, or until it’s completely firm to the touch and can be cleanly sliced.
This rich, minty fudge is a perfect standalone treat on a holiday dessert platter. Pair it with other American classics like chocolate chip cookies, sugar cookies, or a rich cup of hot cocoa or coffee to balance its sweetness.