


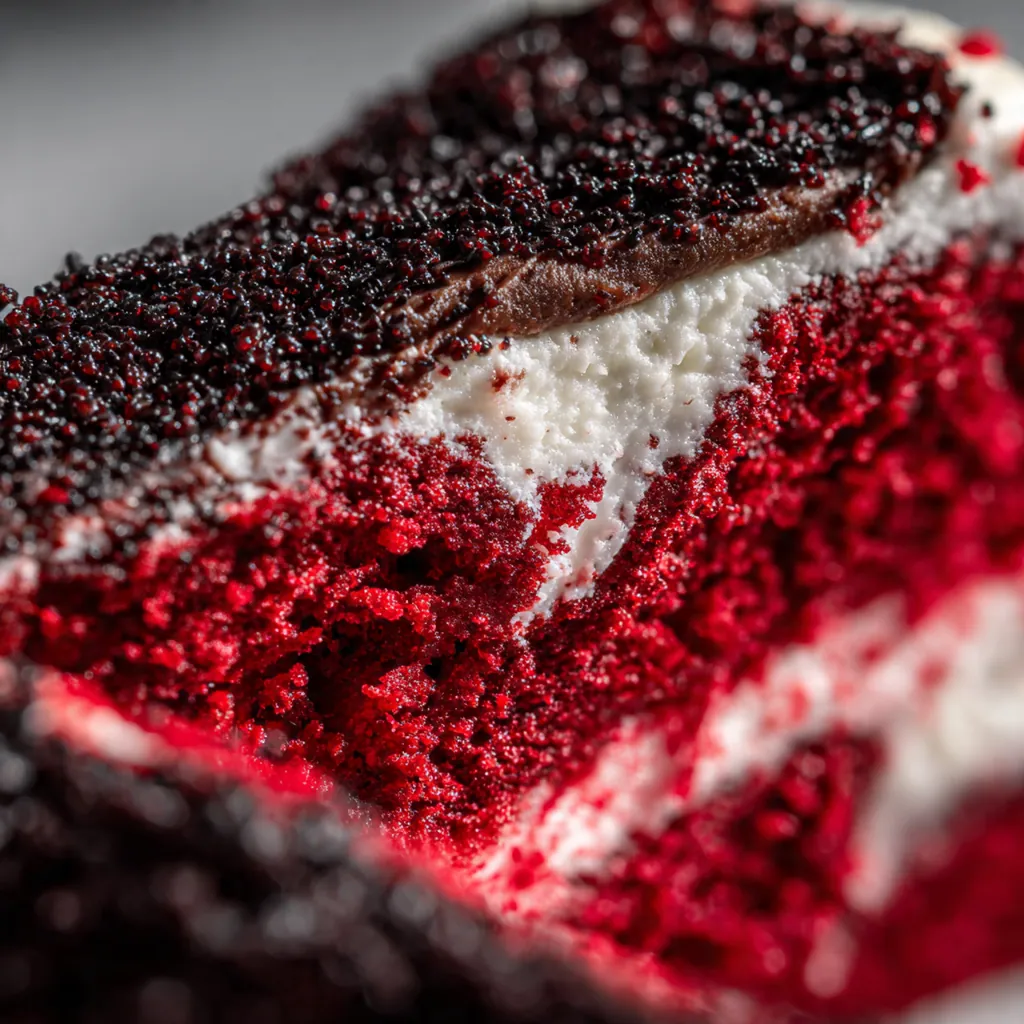
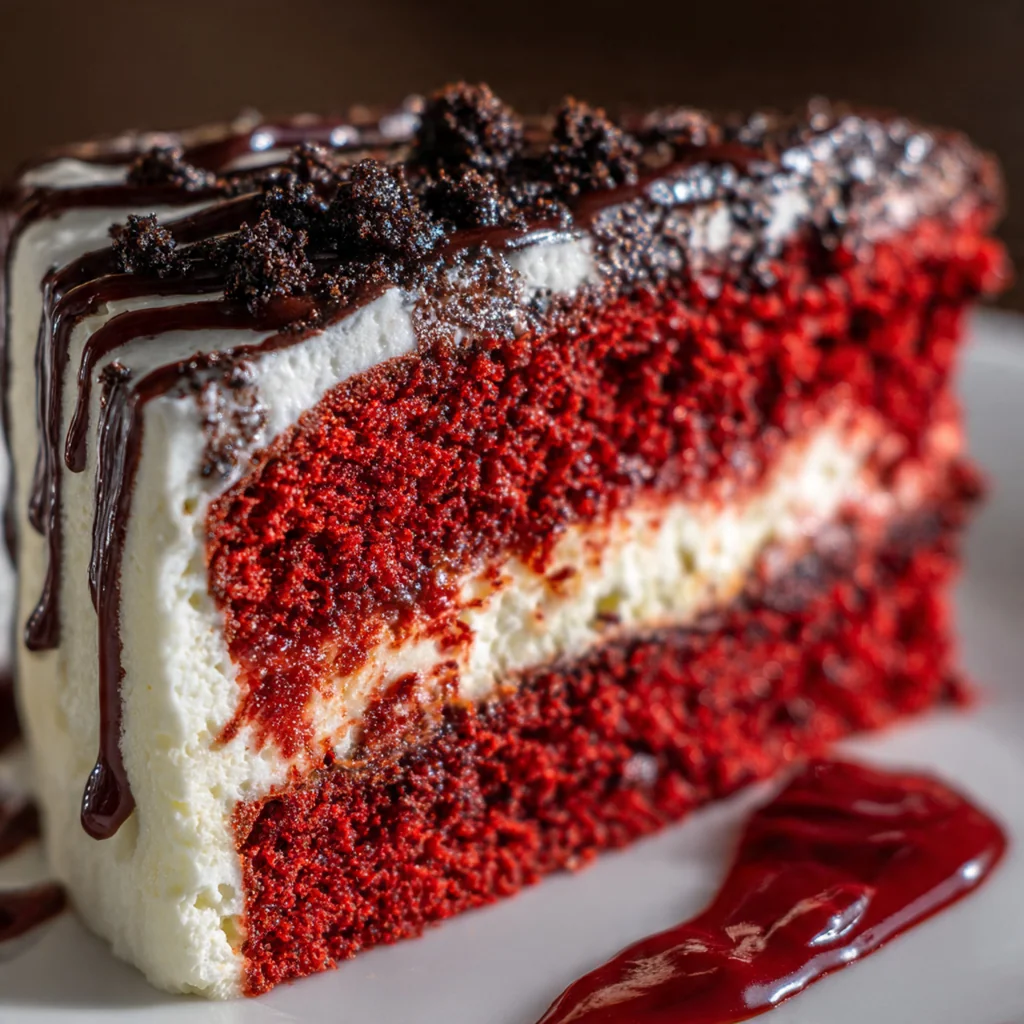
These Vampire Bite Red Velvet cupcakes are the kind of playful, spooky treat that completely transforms a Halloween party or movie night. They take the classic American comfort dessert and give it a fun twist that’s sure to get everyone talking. With a rich, cocoa-kissed red crumb hiding a sweet-tart ‘blood’ center, each bite is a delightful surprise. It’s a project that feels special but is totally doable, making it my go-to for creating a memorable Halloween moment that both kids and adults adore.
Why You'll Love This Recipe
- The surprise raspberry ‘blood’ center is pure fun and always gets a reaction
- Creamy frosting perfectly balances the tangy jam and rich cake
- They look impressively themed but are surprisingly straightforward to assemble
- You can easily customize the decoration to fit any spooky party vibe
- Honestly, I make these every October and they disappear in minutes
Ingredients You’ll Need
- All-purpose flour: forms the base structure of the cupcake, giving it that tender yet stable crumb. A good quality brand makes all the difference for consistent results.
- Unsweetened cocoa powder: provides the classic, subtle chocolate undertone that defines red velvet without overpowering the other flavors. Use a natural cocoa for that authentic taste.
- Baking soda: the leavening agent that gives the cupcakes their lift and soft texture. Make sure yours is fresh for the best rise.
- Salt: a crucial flavor enhancer that balances the sweetness of the cake and frosting. Just a bit makes everything taste more rounded.
- Buttermilk: the secret to red velvet’s signature tender texture and slight tang. Room temperature buttermilk blends seamlessly into the batter.
- Liquid red food coloring: creates the iconic, vibrant red color that makes these Halloween-ready. A liquid gel gives deep color without thinning the batter.
- Pure vanilla extract: adds a warm, aromatic depth to both the cake batter and the frosting. Real extract beats imitation for flavor every time.
- White vinegar: reacts with the baking soda to help the cupcakes rise and contributes to that classic red velvet tang. Don’t skip it.
- Large eggs: bind the ingredients together and add richness and structure to the crumb. Room temperature eggs incorporate much more smoothly.
- Granulated sugar: sweetens the cake and helps create a light, airy texture when creamed with the butter.
- Unsalted butter: provides richness, moisture, and that wonderful melt-in-your-mouth quality. Softening it first is non-negotiable for a smooth batter.
- Seedless raspberry jam: becomes the hidden ‘blood’ center that makes these Vampire Bite Red Velvet cupcakes so special. Seedless gives a smooth, convincing texture.
- Cream cheese: the base of the iconic frosting, offering a tangy creaminess that cuts through the sweetness. Full-fat gives the best texture and flavor.
- Powdered sugar: sweetens and thickens the frosting to a perfect, pipeable consistency. Sifting it first prevents any lumps.
- Additional red food coloring for drizzle: used to create the final vampire bite effect on the frosting. A little goes a long way for that spooky look.
- Plastic vampire teeth for decoration: the playful finishing touch that sells the theme. You can find these at any party store around Halloween.
How to Make It
Prep Your Oven and Pans:
Start by preheating your oven to 350°F and lining a muffin tin with twelve cupcake liners. This ensures everything is ready to go so your batter doesn’t sit and ensures even baking. I like using dark or festive liners for a more dramatic look.
Combine the Dry Ingredients:
In a medium bowl, whisk together the flour, cocoa powder, baking soda, and salt. Whisking aerates the dry mix and breaks up any lumps, which means you won’t overmix later trying to blend everything. It’s a simple step that guarantees a uniform, tender crumb.
Mix the Wet Red Ingredients:
In a separate small bowl, stir together the buttermilk, red food coloring, vanilla, and vinegar until you have a smooth, vividly red liquid. Doing this separately ensures the color distributes evenly throughout the batter without any pale streaks.
Cream Butter and Sugar:
In a large bowl, use an electric mixer to beat the softened butter and granulated sugar together on medium speed. You’ll want to go for a full 2-3 minutes until the mixture is pale, fluffy, and light. This step incorporates air, which is key for a light cupcake texture.
Incorporate Eggs and Alternate Mixes:
Beat in the eggs one at a time, making sure each is fully blended before adding the next. Then, with the mixer on low, add about a third of the dry ingredients, followed by half of the red buttermilk mixture. Repeat, ending with the dry ingredients. Mix just until the last streaks of flour disappear; overmixing leads to toughness.
Bake to Perfection:
Divide the batter evenly among the twelve liners, filling each about two-thirds full. Bake for 18 to 20 minutes. You’ll know they’re done when a toothpick poked into the center comes out clean. Let them cool in the pan for just 5 minutes before moving them to a wire rack.
Core and Fill with ‘Blood’:
Once the cupcakes are completely cool, use a small knife or a cupcake corer to remove a plug from the center of each one. Fill each little cavity with about a teaspoon of the seedless raspberry jam. This hidden pocket is what makes a Vampire Bite Red Velvet cupcake so fun.
Whip Up the Cream Cheese Frosting:
In a clean bowl, beat the softened cream cheese and butter together until perfectly smooth and lump-free. Gradually beat in the powdered sugar and vanilla, starting slow to avoid a cloud of sugar. Once combined, beat on medium until the frosting is fluffy and holds its shape.
Frost and Create the Bite Mark:
Pipe or spread a generous swirl of frosting over each cupcake, completely covering the filled center. For the signature vampire bite effect, use a toothpick to dab a tiny bit of extra red food coloring on the frosting near the edge, or drizzle a thin line of extra jam.
Add the Final Spooky Touch:
If you’re using them, gently press a pair of plastic vampire teeth into the frosting on each Vampire Bite Red Velvet cupcake. It instantly sells the theme and makes for a fantastic presentation on your Halloween dessert table.
You Must Know
- Room temperature ingredients are the secret to a smooth, lump-free batter and frosting
- Let cupcakes cool completely before filling or the jam turns them soggy
- A cupcake corer is a cheap tool that makes filling super easy
- That little bit of vinegar is what gives red velvet its signature tang
- I never skip the red drizzle—it’s what makes the ‘bite’
Storage Tips
Store your Vampire Bite Red Velvet cupcakes in a single layer in an airtight container in the refrigerator, where they’ll keep beautifully for up to three days. The cream cheese frosting and jam filling need the chill to stay fresh. For the best taste and texture, let them sit out at room temperature for about 20 to 30 minutes before serving—this softens the frosting and brings out the cake’s flavor. I wouldn’t recommend freezing them once they’re filled and frosted, as the texture of the jam and frosting can change.
Ingredient Substitutions
If you’re out of buttermilk, you can make a solid substitute by adding 1½ teaspoons of white vinegar or lemon juice to a half-cup of regular milk and letting it sit for 5 minutes until it curdles slightly. For a gluten-free version, use your favorite 1-to-1 gluten-free flour blend in place of the all-purpose flour. Dairy-free bakers can use almond milk mixed with vinegar for the buttermilk, and there are excellent dairy-free butter and cream cheese alternatives available now that work wonderfully in both the cake and frosting. In a pinch, you could use a different seedless jam like strawberry or cherry for the ‘blood’ center, though raspberry has that perfect tartness.
Serving Suggestions
For a full Halloween spread, place these Vampire Bite Red Velvet cupcakes on a tiered stand draped with fake cobwebs and serve them alongside a bowl of ‘witches’ brew’ red fruit punch. They’re also fantastic for a spooky movie night paired with popcorn dusted with orange powder and dark chocolate-covered pretzels. If you’re going for a real showstopper, place the platter on a bed of dry ice for a few minutes before bringing it out—just be safe and don’t let the dry ice touch the food. A simple black napkin underneath each cupcake makes the red color pop even more.
Cultural Context
The red velvet cake is a classic of Southern American baking, with a history tied to the Adams Extract company and the iconic Waldorf-Astoria hotel recipe. Its dramatic color and subtle chocolate flavor made it a symbol of celebration and luxury. This Vampire Bite Red Velvet version plays on that celebratory heritage, twisting it for modern Halloween, a holiday that itself has evolved from ancient Celtic festivals into a night of community, costume, and playful scares. Transforming a beloved dessert into a themed centerpiece is a very American tradition, where food is as much about fun and storytelling as it is about flavor.
Pro Tips
- Use gel food coloring if you have it for a more vibrant red shade
- A piping bag with a star tip gives you that professional bakery look
- Inject the jam with a syringe after frosting for a cleaner ‘bite’ effect
- Chill the frosted cupcakes for 15 minutes before adding the red drizzle so it sits on top
- I always make a test cupcake first to check my oven’s timing
Frequently Asked Questions
Yes, you can make a quick buttermilk substitute by adding 1/2 tablespoon of lemon juice or white vinegar to 1/2 cup of regular milk. Let it sit for 5 minutes until it curdles before using. This acid is crucial for the red velvet’s signature tender texture.
Absolutely. You can bake the unfrosted cupcakes and store them in an airtight container at room temperature for one day, or freeze for up to a month. The cream cheese frosting can be made 1-2 days ahead and refrigerated; just let it soften before piping.
For the ‘blood’ center, any seedless red jam like strawberry or cherry works perfectly. You could also use a thick raspberry coulis. Avoid preserves with chunks of fruit, as they can be difficult to inject into the cupcake center neatly.
The cupcakes are done when a toothpick inserted near the edge (not the jam-filled center) comes out clean, about 20 minutes. The tops will spring back lightly when touched. Be careful not to overbake, as the cupcakes will continue to cook slightly while cooling.
These rich, festive cupcakes stand alone perfectly. For a full American Halloween dessert spread, pair them with caramel apples, spiced cider, or dark chocolate cookies. The tangy cream cheese frosting balances the sweet raspberry center.