

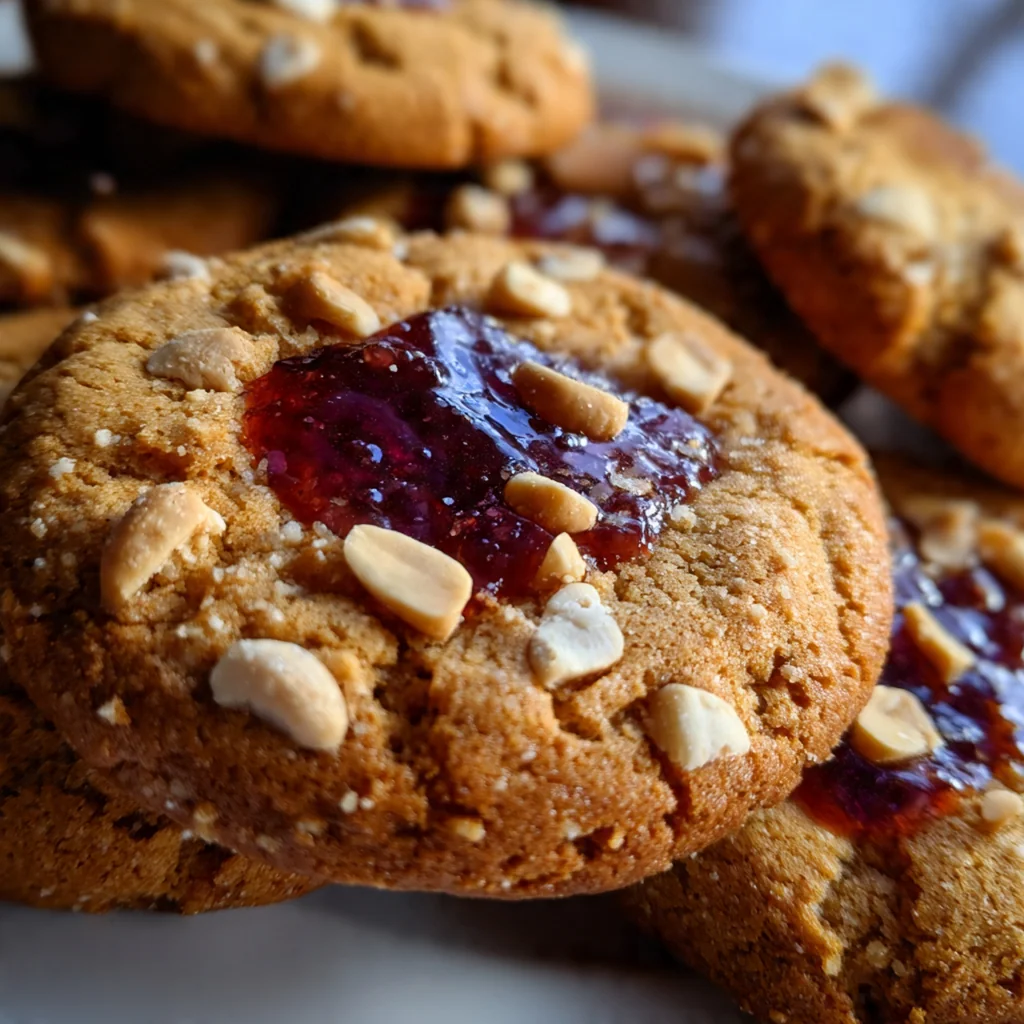
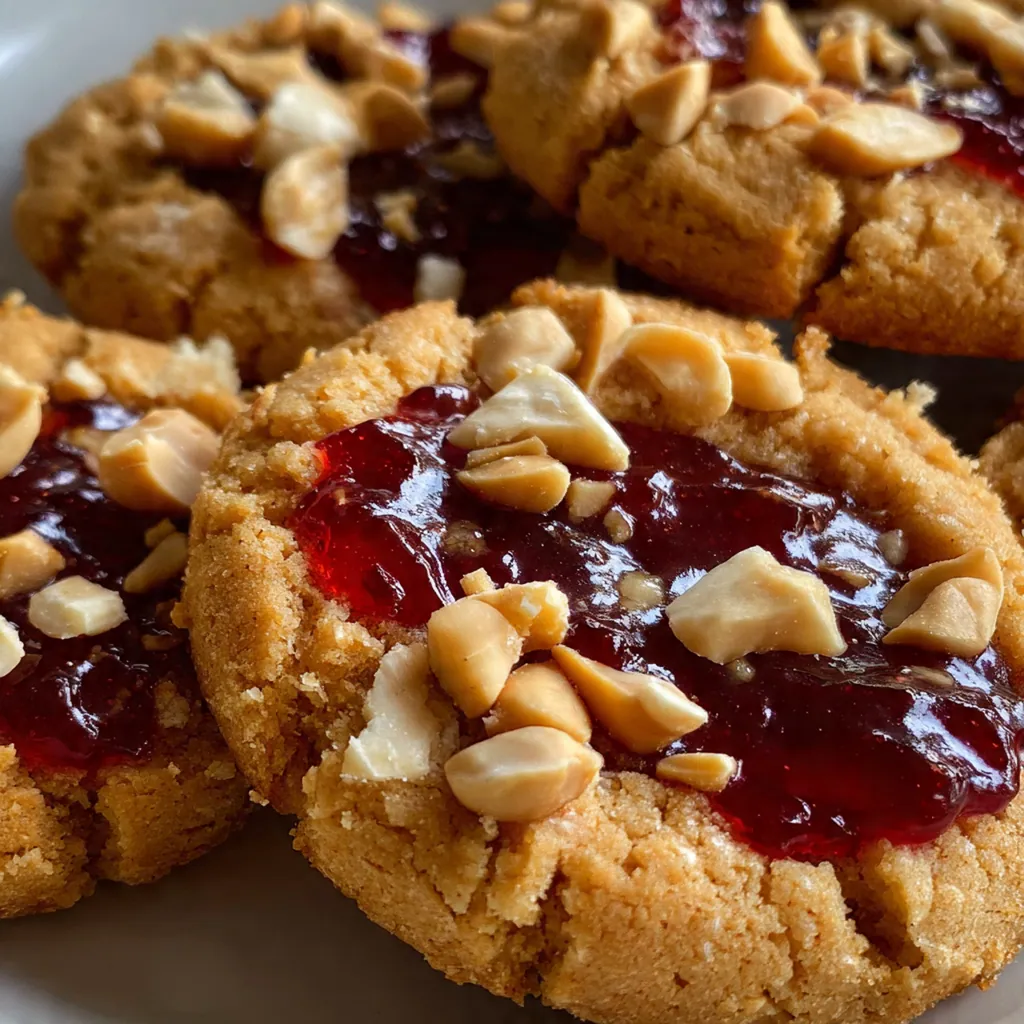
These old-fashioned peanut butter jelly cookies bring back the best childhood memories in every bite. Packed with rich peanut butter flavor and a sweet jam center, they capture the classic sandwich experience in soft, chewy cookie form. I’ve been making this recipe for years whenever I need a quick, crowd-pleasing treat that reminds everyone of home. The American classic transforms beautifully into a cookie that works perfectly for lunchboxes, afternoon snacks, or late-night cravings.
Why You'll Love This Recipe
- Soft, chewy texture with the perfect jam-to-peanut butter ratio
- No mixer required – just one bowl and 15 minutes of prep
- Kid-friendly recipe that’s perfect for baking together
- Stays fresh for nearly a week, making them great for meal prep
- I make these every Sunday for the week ahead
Ingredients You’ll Need
- Creamy peanut butter: Use no-stir preferred for the best texture and smooth mixing. Look for brands where the oil is already blended in for consistent results.
- Packed light brown sugar: Adds moisture and chewiness while creating that perfect caramel-like flavor. Pack it firmly into your measuring cup for the right sweetness.
- Large egg: Binds everything together and adds richness. Use room temperature eggs for smoother incorporation into your dough.
- Vanilla extract: Enhances all the flavors and adds warmth. Pure vanilla extract makes a noticeable difference over imitation.
- Baking soda: Provides the lift and helps create that signature crackled top. Make sure it’s fresh for proper rising.
- Salt: Balances the sweetness and enhances the peanut butter flavor. Fine salt incorporates better than coarse.
- All-purpose flour: Creates the cookie structure while keeping them tender. Measure by spooning into the cup and leveling off.
- Seedless strawberry jam: The star of the show in the center. Choose a good quality jam that isn’t too runny for the best results.
- Sea salt flakes: Optional but adds a gourmet touch that cuts through the sweetness. Sprinkle just a pinch on top.
- Chopped roasted peanuts: Optional topping for extra crunch and peanut flavor. Toast them lightly for deeper taste.
How to Make It
Prepare Your Oven and Baking Sheets:
Preheat your oven to 350°F and line two baking sheets with parchment paper or silicone baking mats. This prevents sticking and ensures even browning, plus it makes cleanup super easy. Having everything ready before you start mixing keeps the process smooth.
Mix the Wet Ingredients:
In a large bowl, combine the peanut butter, brown sugar, egg, vanilla extract, baking soda, and salt. Mix with a hand mixer or wooden spoon until smooth and well combined, about 1-2 minutes. You want everything completely blended with no streaks of sugar remaining.
Add the Flour:
Add the all-purpose flour to the peanut butter mixture and stir until just incorporated. The dough should be soft but not sticky – if it’s too sticky, add 1-2 more tablespoons of flour. Don’t overmix or your cookies will be tough instead of tender.
Shape the Cookie Dough:
Scoop the dough into 1-inch balls (about 1 tablespoon each) and place them 2 inches apart on the prepared baking sheets. You should get about 24 cookies. Roll them quickly between your palms to make them smooth and round.
Create the Thumbprint:
Use your thumb or the back of a small spoon to make a deep indentation in the center of each cookie. Press down firmly but don’t go all the way through the dough. This well needs to be deep enough to hold the jam without it spilling over.
Fill with Jam:
Fill each indentation with about 1/2 teaspoon of strawberry jam. Don’t overfill or the jam will bubble out during baking. If your jam is too thick, warm it slightly for easier spooning.
Add Optional Toppings:
If using optional toppings, sprinkle a pinch of sea salt flakes or chopped peanuts on each cookie. The salt especially adds that sweet-salty balance that makes these cookies irresistible.
Bake to Perfection:
Bake for 10-12 minutes until the edges are set and lightly golden. The centers will still look slightly soft but will firm up as they cool. Rotate the baking sheets halfway through for even browning.
Cool Properly:
Remove from oven and let the cookies cool on the baking sheet for 5 minutes – they’re fragile when hot. Then transfer cookies to a wire rack to cool completely, about 15 minutes, before serving. The jam needs this time to set properly.
Store for Later:
Once completely cool, store in an airtight container at room temperature for up to 5 days. Place parchment paper between layers to prevent sticking.
You Must Know
- Press the thumbprint deep enough so jam doesn’t spill over
- Let cookies cool completely before moving them
- Use creamy peanut butter with oil already stirred in
- Warm thick jam slightly for easier filling
- Rotate baking sheets halfway through baking
Storage Tips
Store cooled cookies in an airtight container at room temperature for up to 5 days. Place parchment paper between layers to prevent sticking and keep them looking fresh. For longer storage, freeze in a freezer bag for up to 3 months – they thaw beautifully at room temperature in about 30 minutes. I like to make a double batch and freeze half for unexpected guests or lunchbox emergencies.
Ingredient Substitutions
For a nut-free version, substitute sunflower seed butter for peanut butter – it creates a similar texture and flavor profile that works beautifully. If you need gluten-free cookies, swap the all-purpose flour for your favorite 1-to-1 gluten-free baking blend. Any flavor of jam works great, so feel free to use raspberry, grape, or apricot depending on your preference. You can also use crunchy peanut butter if you want extra texture throughout the cookies.
Serving Suggestions
Enjoy these cookies with a cold glass of milk or hot chocolate for that classic combination. They’re perfect for afternoon snack time, school lunchboxes, or as a sweet treat with your morning coffee. Try making mini versions using a teaspoon of dough for party platters – they’re always the first to disappear. I love packing them in care packages because they travel well and everyone loves the nostalgic flavors.
Cultural Context
The peanut butter and jelly sandwich is a quintessential American classic that became popular in the early 1900s when peanut butter was marketed as an affordable protein source. This cookie version captures that same beloved flavor combination but transforms it into something special enough for dessert while still feeling homey and familiar. It’s the kind of recipe that gets passed down through generations because it uses simple pantry staples to create something that makes everyone smile.

Pro Tips
- Use creamy peanut butter with the oil already stirred in for best texture
- Press the thumbprint deep enough so the jam doesn’t spill over while baking
- Let cookies cool completely before moving – the jam needs time to set
- If jam is too thick, warm it slightly in the microwave for easier filling
- Rotate baking sheets halfway through baking for even browning
- I always make a test cookie first to check my jam amount
Frequently Asked Questions
Absolutely! While the recipe calls for creamy peanut butter, you can definitely substitute crunchy peanut butter if you prefer some texture in your cookies. It will add a nice nutty crunch that complements the soft jam center perfectly. Just make sure to use a no-stir variety for the best consistency.
Yes, these cookies are perfect for making ahead. You can prepare the dough and refrigerate it for up to 3 days before baking. Once baked, store the cooled cookies in an airtight container at room temperature for up to 5 days, or freeze them for up to 3 months. The jam center keeps them moist and delicious!
You can easily swap the strawberry jam for other flavors! Grape jelly, raspberry jam, or even apricot preserves work wonderfully. For a different twist, try using chocolate hazelnut spread or a caramel sauce. Just make sure it’s a spreadable consistency so you can easily add that dollop to each cookie.
Your cookies are ready when the edges are lightly golden brown and set, but the centers still look slightly soft. They will continue to firm up as they cool on the baking sheet. At 12 minutes of baking time, check for this visual cue – don’t overbake if you want that perfect soft and chewy texture!
These American-style cookies are fantastic on their own, but they pair wonderfully with a cold glass of milk for that classic PB&J experience. They’re also great with coffee or hot chocolate. For a fun dessert, serve them slightly warm with a scoop of vanilla ice cream on the side.